
|
Do it yourself
| |||
| ||||


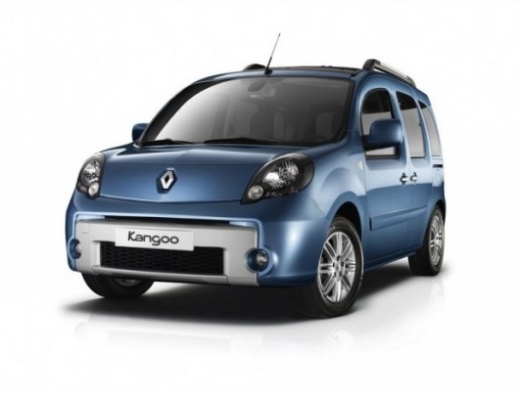
Replacement of the heating radiator of a Renault Kangoo II.
Model: Renault Kangoo
MK 2, FC, FW
- Years:
2007, 2008, 2009, 2010, 2011, 2012, 2013, 2014, 2015, 2016, 2017, 2018
Video tutorial
As we can see from the short video, replacing the cabin heater radiator on the Renault Kangoo is considered one of the longest and most complex tasks in automotive mechanics, often compared to replacing a clutch or a timing belt on a central engine. The reason is simple. To access it, you literally have to disassemble half of the dashboard. It is not an impossible job for a very experienced, skilled, and patient hobbyist, but it must be approached with full awareness. The radiator is located halfway between the engine compartment and the cabin, and to reach it, it is necessary to drain the cooling system, remove the glove compartment, take out the entire dashboard, remove the steering wheel and airbag, disconnect dozens of electrical connectors (window lifters, top, car radio, warning lights, airbags), remove fixing screws, and disassemble the heating/air conditioning unit. The estimated time for an experienced mechanic is eight hours; for a well-equipped hobbyist, about 20 hours, with a high risk of forgetting a connector or ending up with annoying noises from the dashboard after reassembly. Let's think carefully before undertaking such a job.
Posted on 5 December 2025 by ScegliAuto
Related tutorials
Renault Kangoo
(2007-2021 /
MK 2, FC, FW)
In order to replace the heating radiator of the Renault Kangoo, you need to completely dismantle the dashboard of the vehicle, first removing the glo…

Renault Kangoo
(2020-2026 /
MK 3, KFK, FFK)
The Renault Kangoo can have blocked windshield drainage channels, which if not checked periodically, can allow water to enter the vehicle, wet the ca…

Renault Kangoo
(2007-2021 /
MK 2, FC, FW)
Today's guide will illustrate the steps to remove and replace the dashboard and the cabin heater radiator of the Renault Kangoo. First, get into the …
Other guides you may be interested in
|
How to Remove the Rear Seat of a Hyundai Tucson?
To remove the rear seat of a Hyundai Tucson, follow these steps. Start by moving the front seats to their most forward position to gain space. Next, locate the release lever on the underside of the rear seat, near the floor. Press this lever down while pulling the seat upwards to unlock it from the anchor pins. Once unlocked, tilt the seat upwards and forwards to remove it from its position. Repeat this process for both sides of the rear seat. Be careful of any electrical cables or components that may be connected to the seat during removal. Once the rear seat is removed, the disassembly is complete. by ScegliAuto More videos
|
|
For advertising on this site Write to info@scegliauto.com
ScegliAuto is not responsible for any inaccuracy of the data in the lists. To report any inaccuracy or your business (if you own the business in question), please write to info@scegliauto.com
Number of seconds to generate the page: 0.155
(c) ScegliAuto 2026 - info@scegliauto.com - Privacy policy VAT number: IT01247470535 |
