
|
Do it yourself
| |||
| ||||


Cylinder Head Gasket Replacement
Model: Renault Megane
Megane III, Megane 3
- Years 2008-2015
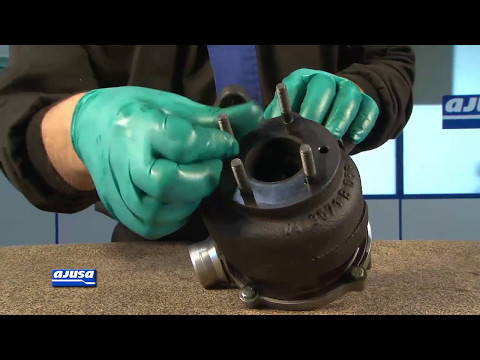
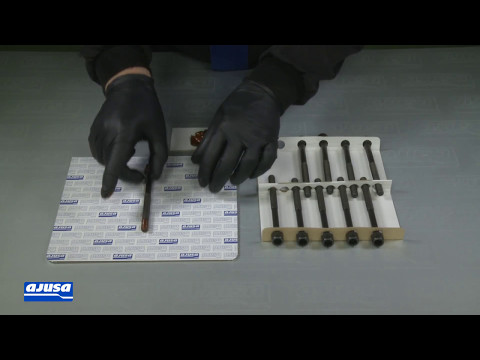
When replacing the cylinder head, you will practically need to dismantle the entire upper part of the engine, leaving only the cylinder block: it is good practice, during reassembly, to replace all gaskets, oil seals, and fastening pins; you can purchase everything needed in the aftermarket. Verify the flatness of the cylinder head surface using a ground bar and a feeler gauge for valves; replace the valve guide seals (lubricate them generously before inserting) using the appropriate spring compressor to release the return springs of the valves; apply the gasket and the exhaust manifold as well as the one between the manifold and the turbo; also replace the gasket of the turbo lubrication duct; repeat the flatness check on the cylinder block and re-tap the threads of the cylinder head mounting holes; position the new cylinder head gasket, the cylinder head itself, and use a new pin kit for securing it (tighten according to a cross pattern using a torque wrench and a calibrated wrench). Apply gasket sealant on the distribution side and position the rocker cover gasket to complete the assembly of the latter. Finally, install the intake manifold with the new gaskets; connect the exhaust pipe and lubricate the turbo to ensure its lubrication at the first start.
Updated on 12 February 2026 by ScegliAuto
Video tutorial
Related tutorials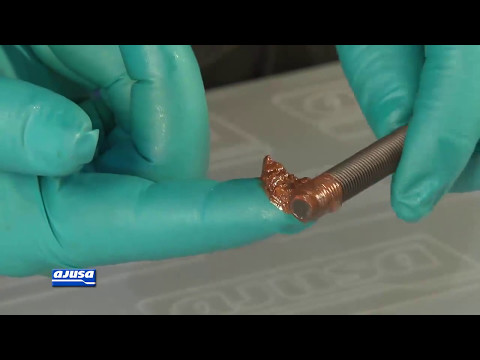
Renault Megane
(1995-2003 /
Megane 1)
When replacing the cylinder head gasket, it is important to observe a series of precautions: start by checking the flatness of the cylinder head and …
Renault Megane
(1995-2003 /
Megane 1)
The engine gasket serves to isolate the cylinders from the cooling passages surrounding them and to separate the oil and cooling passages to prevent …
Renault Megane
(2008-2015 /
Megane III, Megane 3)
Before installing the new cylinder head gasket, it is essential to check that any previous overheating has not warped the cylinder head and block sur…
Other guides you may be interested in
|
How to Check the Oil Level on a Jeep Renegade?
To check the oil level on a Jeep Renegade, you need to open the bonnet to access the components inside the engine bay: on the lower left side of the engine block, you will find the dipstick for checking the level. This should be pulled out and thoroughly cleaned with a cloth: once cleaned, reinsert it back into its tube and pull it out immediately after. This way, you can check that the oil mark is between the minimum and maximum levels; finally, you can place the dipstick back in its tube. by ScegliAuto More videos
|

|
For advertising on this site Write to info@scegliauto.com
ScegliAuto is not responsible for any inaccuracy of the data in the lists. To report any inaccuracy or your business (if you own the business in question), please write to info@scegliauto.com
Number of seconds to generate the page: 0.065
(c) ScegliAuto 2026 - info@scegliauto.com - Privacy policy VAT number: IT01247470535 |
