
|
Do it yourself
| |||
| ||||


Checking Battery and Charging System Efficiency
Model: Renault Megane
Megane 1
- Years 1995-2003
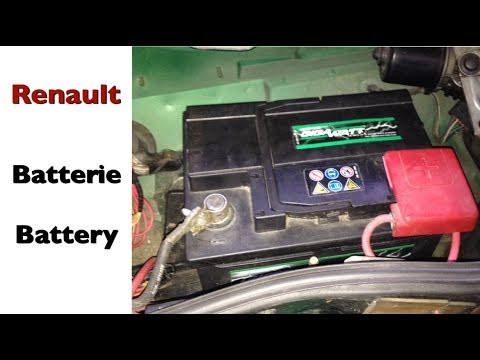
Once you locate the battery, which in this vehicle is on the passenger side, just below the windscreen, check that the terminals are well tightened and free from oxide or corrosion; also check that the battery does not show any acid leaks. The first measurement of the battery's charge state should be made with the engine off and the ignition on (the battery warning light should be off); set the multimeter to the 20V DC scale and connect the probes to the battery terminals, respecting polarity: an efficient battery should read a voltage between 12.3V and 13.5V.
Check the voltage drop during the starting phase to test the battery's cranking ability: it should not drop below 8V. Next, check the charging system, ensuring that the auxiliary belt driving the alternator pulley is intact and free from cracks; then start the engine, ensure the battery warning light goes off, and measure the voltage at the battery terminals: it should be between 13.2V and 14.8V. Finally, to check the stability of the alternator regulator, activate all electrical loads (headlights, indicators, demister, cabin fan) and ensure the voltage does not drop below 13.2V (you may need to rev the engine a bit).
Updated on 14 February 2026 by ScegliAuto
This video is currently unavailable
Related tutorials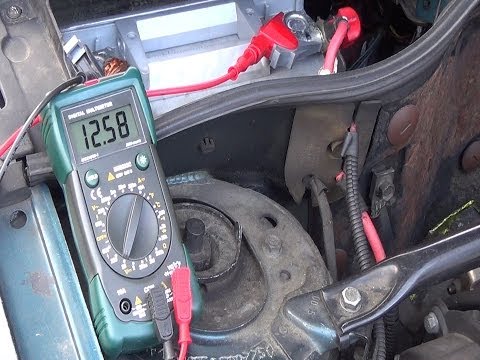
Renault Megane
(1995-2003 /
Megane 1)
First, perform a visual inspection to ensure that the battery terminals and their respective connectors show no signs of oxidation, that they are tig…
Renault Megane
(2002-2010 /
Megane 2)
Need to replace the power battery? Let’s replace the battery of the Renault Megane. Open the car door and pull up the engine compartment release leve…

Renault Megane
(2008-2015 /
Megane III, Megane 3)
To replace the battery in a Renault Megane, turn off the engine and open the bonnet. Locate the battery in the engine bay and remove the protective p…
Other guides you may be interested in
|
How to Replace the Battery on a Honda Vision 110
To replace the battery on a Honda Vision 110, you need to remove the front fairing of the motorcycle, located directly under the front headlamp. To loosen this panel, unscrew the two screws found at its top, just below the handlebar. Once these screws are loosened, lever under the panel to detach it, gaining access to the battery underneath: this battery must be removed from its housing by unscrewing the fixing screws and disconnecting the power cables, replacing it with a new one. by ScegliAuto More videos
|
|
For advertising on this site Write to info@scegliauto.com
ScegliAuto is not responsible for any inaccuracy of the data in the lists. To report any inaccuracy or your business (if you own the business in question), please write to info@scegliauto.com
Number of seconds to generate the page: 0.121
(c) ScegliAuto 2026 - info@scegliauto.com - Privacy policy VAT number: IT01247470535 |
