
|
Do it yourself
| |||
| ||||


Replacing the Engine Cylinder Head Gasket
Model: Renault Megane
Megane 1
- Years 1995-2003
When removing the cylinder head to replace the gasket, it is advisable to carry out a general inspection of the cylinder head itself to ensure a more durable result; start with a machining of the surface, then check for perfect flatness; proceed to replace the valve guide seals using the appropriate arch clamp to release the valve stem retaining clips and the corresponding puller to remove the old seals; clean the seat and lubricate before inserting the new seals and reattach the valve; apply the new gaskets, the exhaust manifold, and the turbocharger, also installing the lubrication pipe with new gaskets; check the surface of the cylinder block, re-tap the threads of the cylinder head fastening holes, insert the centering bushes, place the new gasket, and then the cylinder head using a new set of bolts for fastening; install the camshafts, the timing chain, and then the rocker cover with a new gasket; using the same approach, mount the intake manifold and connect the turbocharger to the exhaust. Lubricate the variable geometry before the first start-up and install the corresponding lubrication pipe.
Updated on 16 February 2026 by ScegliAuto
Video tutorial
Related tutorials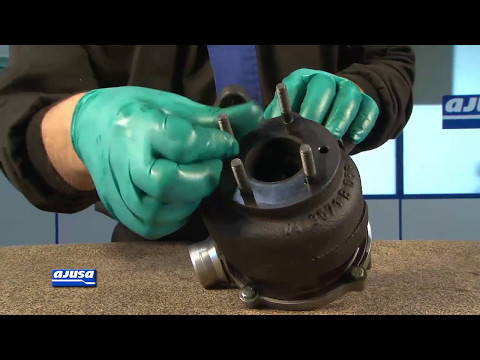
Renault Megane
(1995-2003 /
Megane 1)
The engine gasket serves to isolate the cylinders from the cooling passages surrounding them and to separate the oil and cooling passages to prevent …
Renault Megane
(1995-2003 /
Megane 1)
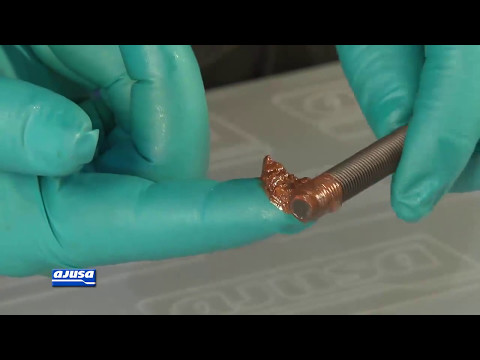
When replacing the cylinder head gasket, it is important to observe a series of precautions: start by checking the flatness of the cylinder head and …
Renault Megane
(2008-2015 /
Megane III, Megane 3)
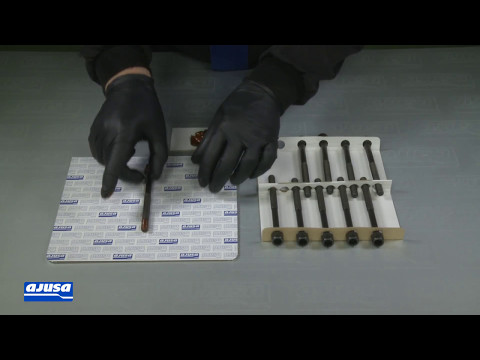
Before installing the new cylinder head gasket, it is essential to check that any previous overheating has not warped the cylinder head and block sur…
Other guides you may be interested in
|
Where is the Fuel Filter Located in a Volvo XC60?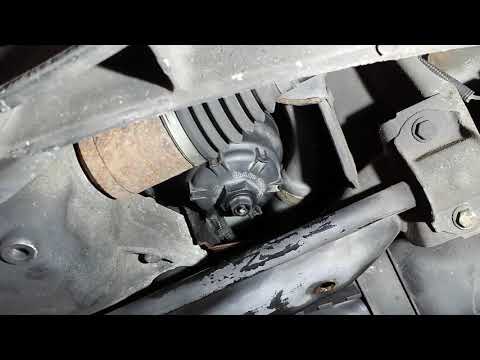
In this video, you will see where the fuel filter is located in a Volvo XC60 and how to proceed if you need to replace it. As shown, the filter is positioned at the lower part of the engine, right between the left half-shaft and the sway bar attachment. To replace the filter, first, go underneath the vehicle, taking all necessary safety precautions. Then, using an 18mm wrench, open the drain valve and allow any water present to escape. Next, unscrew the housing, remove the old filter, insert the replacement along with a new gasket, and reassemble everything. by ScegliAuto More videos
|
|
For advertising on this site Write to info@scegliauto.com
ScegliAuto is not responsible for any inaccuracy of the data in the lists. To report any inaccuracy or your business (if you own the business in question), please write to info@scegliauto.com
Number of seconds to generate the page: 0.269
(c) ScegliAuto 2026 - info@scegliauto.com - Privacy policy VAT number: IT01247470535 |
