
|
Do it yourself
| |||
| ||||


Skoda Octavia - Front bumperFront Bumper Skoda Octavia (2012-2019 / mk 3, 5 e)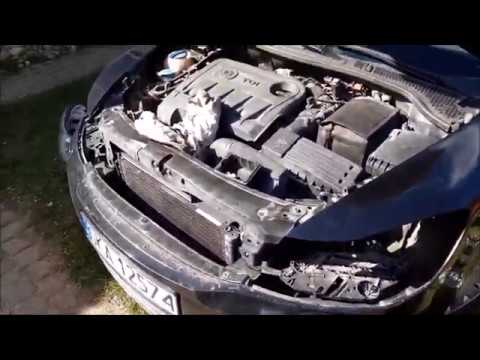 Skoda Octavia (2004-2012 / MK 2, 1Z)
How to Remove the Front Bumper of the Skoda Octavia This guide provides the main instructions on how to remove the front bumper from the Skoda Octavia in simple steps. First, open the bonnet of your car and …Read all… Posted on 4 August 2026 by ScegliAuto 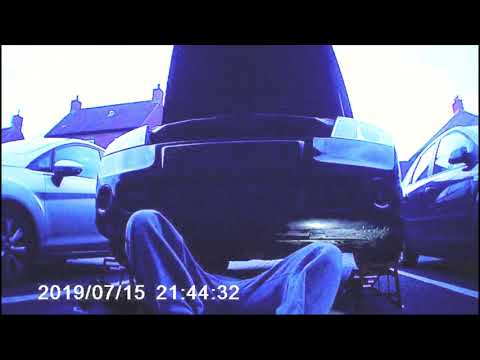 Skoda Octavia (2004-2012 / MK 2, 1Z)
Removing the Front Bumper on Skoda Octavia Open the bonnet and insert the support rod. Using a Torx key, unscrew the two pins above the bumper in the engine bay. Then, unscrew all the screws located in …Read all… Posted on 4 June 2026 by ScegliAuto 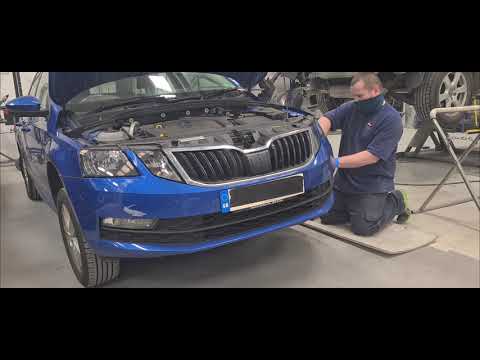 Skoda Octavia (2012-2019 / MK 3, 5E)
Removing the Front Bumper on Skoda Octavia Lift the bonnet and secure it. Unscrew the bolts that are now accessible and secure the bumper from above, as shown in the video, then do the same with the …Read all… Posted on 24 May 2026 by ScegliAuto 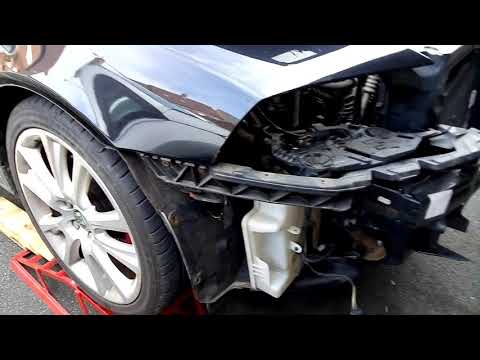 Skoda Octavia (2004-2012 / MK 2, 1Z)
Replace Front Bumper on Skoda Octavia To replace the front bumper on a Skoda Octavia, start by lifting the bonnet. Remove the rivet-screws located at the top of the bumper. Once the top is …Read all… Posted on 9 May 2026 by ScegliAuto Front Bumper Skoda Octavia (2004-2012 / mk 2, 1z)
Skoda Octavia (2004-2012 / MK 2, 1Z)How to Remove the Front Bumper of the Skoda Octavia This guide provides the main instructions on how to remove the front bumper from the Skoda Octavia in simple steps. First, open the bonnet of your car and …Read all… Posted on 4 August 2026 by ScegliAuto
Skoda Octavia (2004-2012 / MK 2, 1Z)Removing the Front Bumper on Skoda Octavia Open the bonnet and insert the support rod. Using a Torx key, unscrew the two pins above the bumper in the engine bay. Then, unscrew all the screws located in …Read all… Posted on 4 June 2026 by ScegliAuto
Skoda Octavia (2012-2019 / MK 3, 5E)Removing the Front Bumper on Skoda Octavia Lift the bonnet and secure it. Unscrew the bolts that are now accessible and secure the bumper from above, as shown in the video, then do the same with the …Read all… Posted on 24 May 2026 by ScegliAuto
Skoda Octavia (2004-2012 / MK 2, 1Z)Replace Front Bumper on Skoda Octavia To replace the front bumper on a Skoda Octavia, start by lifting the bonnet. Remove the rivet-screws located at the top of the bumper. Once the top is …Read all… Posted on 9 May 2026 by ScegliAuto Cigarette lighter (3) Airbag (7) Alternator (4) Shocks (2) Antenna (1) Car stereo (12) Battery (10) Air vents (3) Transmission (2) Spark plugs (2) Glow plugs (4) Body (1) Glove compartment (7) Key (54) Timing belt (7) Air conditioner (13) Onboard computer (7) Checks and maintenance (24) Dashboard (1) Shifter boot (1) Bearing (1) Brake rotors (1) Rear bench seat (1) Headlight (12) Tail light (9) Fog lights (5) Air filter (7) Cabin air filter (14) Diesel fuel filter (4) Oil filter (3) Parking brake (2) Clutch (1) Window switch (2) Accessory kit (2) Light bulb (7) Side marker bulb (1) Headlight bulb (30) Tail light bulb (4) Instrument panel light (1) License plate light (7) (1) Handle (4) Power window motor (1) Engine oil (3) Clock (25) Door trim panel (19) Front bumper (4) Rear bumper (2) Brake pads (4) Fuel pump (2) Car door (4) Instrument cluster (9) Radiator (1) Heater core (5) Fuse box (59) Seat (10) Axle shaft (1) Engine coolant temperature sensor (3) Door lock (5) Suspension system (1) Side mirror (8) AdBlue warning light (4) Warning light – error code (39) (39) Tire pressure warning light (6) Service warning light (178) Manufacturer emblem (5) Brake drums and shoes (1) Fuel cap (2) Windshield wipers (3) Thermostat (1) Tie rods (1) Turbocharger (1) EGR valve (1) Blower motor (3) Side window (2) Steering wheel (1) |
How to Remove the Airbag from Citroen C3
To remove the airbag from a Citroen C3, follow these steps, which you can also see in the attached video. Check the warning light: before proceeding, ensure that the airbag warning light is off and that the horn functions correctly. Disconnect the battery: disconnect the battery to ensure safety during the operation. Locate the holes behind the steering wheel: find the two holes located behind the steering wheel. Insert a long screwdriver: insert a long screwdriver into the holes and press firmly to unlock the internal clips. Remove the airbag: at this point, you can remove the airbag from the steering wheel and disconnect the two internal connectors. by ScegliAuto More videos
|
|
For advertising on this site Write to info@scegliauto.com
ScegliAuto is not responsible for any inaccuracy of the data in the lists. To report any inaccuracy or your business (if you own the business in question), please write to info@scegliauto.com
Number of seconds to generate the page: 0.016
(c) ScegliAuto 2026 - info@scegliauto.com - Privacy policy VAT number: IT01247470535 |
