
|
Do it yourself
| |||
| ||||


How to perform regular maintenance on a Smart fortwo
Model: Smart Smart
451
- Years 2007-2015
Let's see how to do the routine maintenance of a Smart 451: the main interventions are to change the air filter located in the engine compartment. We unlock the plastic clips that secure the box, lift the cover and remove the old filter. Check the mats on the bottom of the box, as they act as water drain valves: make sure they are positioned correctly; insert the new filter and close the cover. As for the spark plugs, disconnect the electrical connectors from the ignition coils, removing the bolt that secures each coil; extract them and remove the old spark plugs with an extension wrench. Then screw in the new spark plugs, initially by hand and then tighten them to 18 Nm. Reinsert the coils and reassemble everything. To change the oil and filter, take a short drive to warm up the oil; remove the oil pan plug, let it drain into a basin (we will then dispose of the oil and filter at an authorized center), clean the threads and put on a new plug; replace the filter, lubricating the gasket with clean oil and fill from the plug with motor oil of the type specified by the manufacturer. The cabin air filter is located under the windshield, on the passenger side, but it is not present on the "Pure" versions that do not have air conditioning.
Posted on 12 November 2025 by ScegliAuto
Video tutorial
Related tutorials
Smart
(2007-2015 /
451)
Let's discover step by step instructions on how to reset the service indicator for regular maintenance of the Smart Fortwo's engine oil change. First…

Smart
(2014-2022 /
453)
Today's instructions will allow us to reset the service warning for the regular maintenance of the engine oil change for the Smart Fortwo. First, let…
Smart
(2014-2022 /
453)
In this new mini guide dedicated to all owners of a 2015 Smart Fortwo, we will discover together the steps to take if you want to manually reset the …
Other guides you may be interested in
|
Frequently Asked QuestionsHow to Replace the Bulbs on a Nissan Almera Rear Light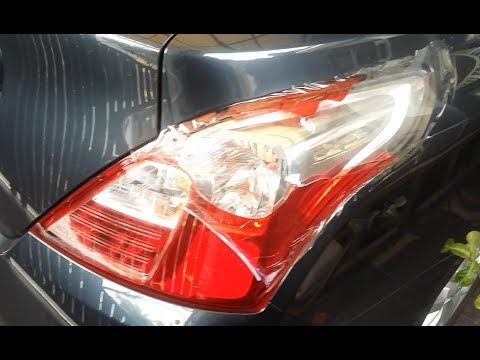
Do you want to change the damaged bulb of a rear light on a Nissan Almera? Follow this video carefully to proceed correctly. Open the boot, remove the fabric side covering, and detach the plastic rivets on the covering. Unscrew the retaining bolts of the rear light using a socket spanner. Once the light is free from the bolts, pull the rear light out of the metal housing, then disconnect the power cable. Place the stop light on a comfortable surface and replace all worn bulbs. To refit the rear light, position it in its housing and tighten all screws after reconnecting the lighting connector. by ScegliAuto More videos
|

|
For advertising on this site Write to info@scegliauto.com
ScegliAuto is not responsible for any inaccuracy of the data in the lists. To report any inaccuracy or your business (if you own the business in question), please write to info@scegliauto.com
Number of seconds to generate the page: 0.137
(c) ScegliAuto 2026 - info@scegliauto.com - Privacy policy VAT number: IT01247470535 |