
|
Do it yourself
| |||
| ||||



Problems caused by an extended throttle body and how to clean it.
Model: Suzuki Swift
AZG, MK 5, Rs41
- Years:
2010, 2011, 2012, 2013, 2014, 2015, 2016, 2017
Video tutorial
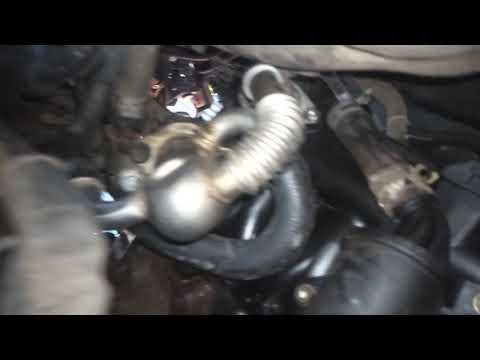
A dirty throttle body can lead to various engine problems: carbon deposits can prevent the throttle from closing completely, allowing more air than necessary to enter and resulting in a higher than normal idle speed. This happens because the ECU tries to compensate by increasing the fuel flow; on the other hand, if dirt blocks the throttle in intermediate positions, the airflow becomes irregular, and the ECU can no longer manage the air/fuel mixture, causing fluctuations in RPM and sudden engine stalls. It is important to clean the throttle valve with a specific cleaner and a microfiber cloth that does not leave lint: if there is a gasket, we should remove it to avoid damaging it. If it is mechanical, we should gently open it and also clean the pivot point; if it is electronic, we should avoid forcing it manually to prevent damaging the stepper motor. Electronic throttles often have a relearning procedure: start the car and let it idle in neutral for a few minutes to allow the control unit to readjust.
Posted on 5 January 2026 by ScegliAuto
Related tutorials
Suzuki Swift
(2010-2017 /
AZG, MK 5, Rs41)
To clean the throttle body of a Suzuki Swift, you will need a specific product for this use, such as LiquiMoly, which can be found with code B01MSW4I…
Suzuki Swift
(2004-2010 /
MK 4, Rs41)
As we can see in this video, the EGR valve of the Suzuki Swift 1.3 DDiS is located on the rear side of the engine, near the cabin wall. It has the sh…

Suzuki Swift
(2010-2017 /
AZG, MK 5, Rs41)
Let's see how to remove the ignition coils from a 2014 Suzuki Swift 1.2. Remove the air filter to gain full access to the coil pack, located on the c…
Other guides you may be interested in
|
How to Remove the Rear Seat of a Hyundai Tucson?
To remove the rear seat of a Hyundai Tucson, follow these steps. Start by moving the front seats to their most forward position to gain space. Next, locate the release lever on the underside of the rear seat, near the floor. Press this lever down while pulling the seat upwards to unlock it from the anchor pins. Once unlocked, tilt the seat upwards and forwards to remove it from its position. Repeat this process for both sides of the rear seat. Be careful of any electrical cables or components that may be connected to the seat during removal. Once the rear seat is removed, the disassembly is complete. by ScegliAuto More videos
|
|
For advertising on this site Write to info@scegliauto.com
ScegliAuto is not responsible for any inaccuracy of the data in the lists. To report any inaccuracy or your business (if you own the business in question), please write to info@scegliauto.com
Number of seconds to generate the page: 0.042
(c) ScegliAuto 2026 - info@scegliauto.com - Privacy policy VAT number: IT01247470535 |
