
|
Do it yourself
| |||
| ||||


How the CV Joint of a Car is Made and How It Works
Model: (Various brands) Various
Through this video tutorial, we can understand how the CV joint of a car is made and how it works: in front-wheel drive vehicles, a component called the 'CV joint' comes into play. It consists of a shaft with grooves that engage with other grooves found on the wheel hub, which is then secured with a nut. On the other side is the housing, which contains balls, a cage, and a special gear that allows the wheel to receive motion from the differential, thus from the driveshaft, regardless of its position. The driveshaft connects internally with a series of grooves. The bearings with balls inside allow the driveshaft to transmit motion even when it is in a different position from linear. Everything is sealed with a boot that protects the internal parts from dust and debris that could enter. Inside, there is a special grease for high temperatures that remains thick even when the friction in the housing is high, ensuring that the internal parts do not wear out and last over time.
Updated on 10 June 2026 by ScegliAuto
Video tutorial
Related tutorials
(Various brands) Various
In this video we can see how the battery of a hybrid car is made; its shape allows the coexistence of the parts of a car that also has an internal co…
(Various brands) Various
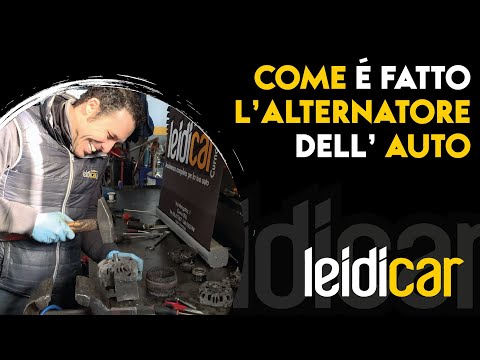
In this video tutorial, you will see how an alternator works in a car. In classic cars, there is a three-phase alternator consisting of a casing with…
(Various brands) Various
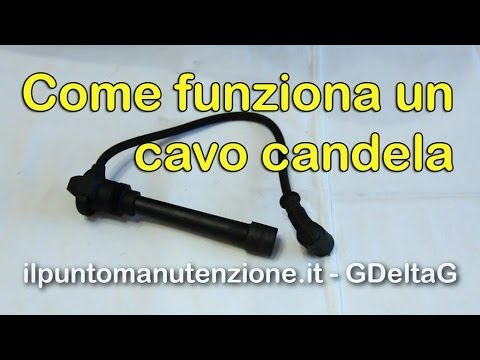
In this tutorial, we will see how spark plug wires are made and how they function in cars. Typically, there are four spark plug wires, one for each s…
Other guides you may be interested in
|
How to Check the Oil Level on a Jeep Renegade?
To check the oil level on a Jeep Renegade, you need to open the bonnet to access the components inside the engine bay: on the lower left side of the engine block, you will find the dipstick for checking the level. This should be pulled out and thoroughly cleaned with a cloth: once cleaned, reinsert it back into its tube and pull it out immediately after. This way, you can check that the oil mark is between the minimum and maximum levels; finally, you can place the dipstick back in its tube. by ScegliAuto More videos
|
|
For advertising on this site Write to info@scegliauto.com
ScegliAuto is not responsible for any inaccuracy of the data in the lists. To report any inaccuracy or your business (if you own the business in question), please write to info@scegliauto.com
Number of seconds to generate the page: 0.278
(c) ScegliAuto 2026 - info@scegliauto.com - Privacy policy VAT number: IT01247470535 |
