
|
Do it yourself
| |||
| ||||


How to replace the belt on a scooter?
Model: (Various brands) Various
Video tutorial
This type of belt replacement is the same for all scooters. The belt should be replaced at 9,320 miles (15,000 km). Purchase a new original belt. The belt has a specific direction for installation (ANTI-CLOCKWISE); follow the arrows indicating how to position it. Before removing the cover, you must remove the air filter; use a star screwdriver to remove all screws. Clean the air filter with some petrol, being careful as it is corrosive. Using an 8 mm socket, unscrew the screws of the cover. Now, using an air compressor and a 19 mm socket, unscrew the nut. Do not remove the oil sump. Unscrew the oil cap. Now you can remove the internal components and install the belt, starting with the clutch and then in the variator. Reassemble all parts in reverse order.
Updated on 14 June 2026 by ScegliAuto
Related tutorials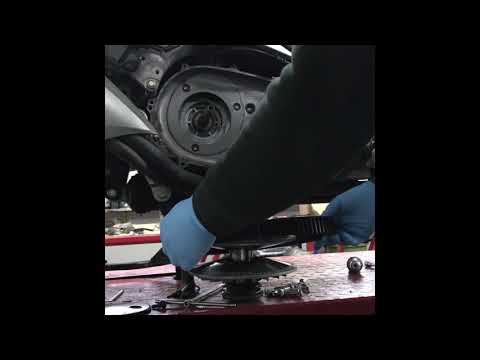
(Various brands) Various
To replace the drive belt on this scooter, you must first remove the right side cover to access the transmission. Using a socket spanner, begin remov…

(Various brands) Various
In this video tutorial, you can see how the drive belt works and when it should be replaced. The drive belt is used to transmit motion between two sh…

(Various brands) Various
If you need to replace the drive belt on this scooter model, the description below contains all the necessary information for the replacement, and yo…
Other guides you may be interested in
|
How to Remove the Rear Seat of a Hyundai Tucson?
To remove the rear seat of a Hyundai Tucson, follow these steps. Start by moving the front seats to their most forward position to gain space. Next, locate the release lever on the underside of the rear seat, near the floor. Press this lever down while pulling the seat upwards to unlock it from the anchor pins. Once unlocked, tilt the seat upwards and forwards to remove it from its position. Repeat this process for both sides of the rear seat. Be careful of any electrical cables or components that may be connected to the seat during removal. Once the rear seat is removed, the disassembly is complete. by ScegliAuto More videos
|
|
For advertising on this site Write to info@scegliauto.com
ScegliAuto is not responsible for any inaccuracy of the data in the lists. To report any inaccuracy or your business (if you own the business in question), please write to info@scegliauto.com
Number of seconds to generate the page: 0.102
(c) ScegliAuto 2026 - info@scegliauto.com - Privacy policy VAT number: IT01247470535 |
