
|
Do it yourself
| |||
| ||||


When to Replace the Drive Belt on the Scooter
Model: (Various brands) Various
Video tutorial
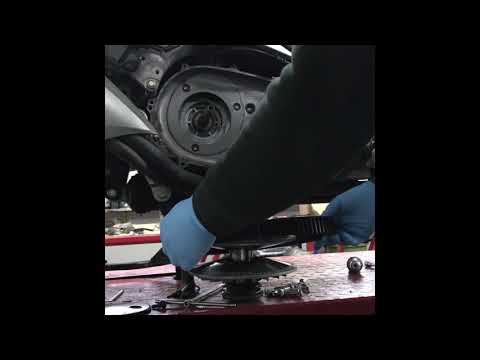
In this video tutorial, you can see how the drive belt works and when it should be replaced. The drive belt is used to transmit motion between two shafts that are distant from each other (it connects the crankshaft to the shaft that connects to the wheel axle through a series of ratios). Motion transmission occurs through friction of the belt on the pulley perimeter. After 9,000-12,000 miles, the belt should be checked and possibly replaced immediately. When removing the drive belt, you may notice cracks and imperfections that would not be visible during a simple visual inspection. In practice, it should be removed, handled, turned, and inspected tooth by tooth; it must not have cracks or splits, should be flexible and not dry, and if it is still in acceptable condition, it can be refitted without replacement; otherwise, it will need to be replaced.
Updated on 8 July 2026 by ScegliAuto
Related tutorials
(Various brands) Various
The instructions in this guide will allow you to remove and replace the drive belt and variator of the Sym Mio 50 scooter. First, place the scooter o…
(Various brands) Various
To replace the drive belt on this scooter, you must first remove the right side cover to access the transmission. Using a socket spanner, begin remov…

(Various brands) Various
In this video, see how to fit the drive belt on any type of scooter: first, fit the clutch assembly with the nut, then fit the fixed pulley of the va…
Other guides you may be interested in
|
How to Remove the Rear Seat of a Hyundai Tucson?
To remove the rear seat of a Hyundai Tucson, follow these steps. Start by moving the front seats to their most forward position to gain space. Next, locate the release lever on the underside of the rear seat, near the floor. Press this lever down while pulling the seat upwards to unlock it from the anchor pins. Once unlocked, tilt the seat upwards and forwards to remove it from its position. Repeat this process for both sides of the rear seat. Be careful of any electrical cables or components that may be connected to the seat during removal. Once the rear seat is removed, the disassembly is complete. by ScegliAuto More videos
|
|
For advertising on this site Write to info@scegliauto.com
ScegliAuto is not responsible for any inaccuracy of the data in the lists. To report any inaccuracy or your business (if you own the business in question), please write to info@scegliauto.com
Number of seconds to generate the page: 0.053
(c) ScegliAuto 2026 - info@scegliauto.com - Privacy policy VAT number: IT01247470535 |
