
|
Do it yourself
| |||
| ||||


Replacing the Thermostat on a Volkswagen Golf 3
Model: Volkswagen Golf
MK 3, Golf III, Golf 3
- Years:
1991, 1992, 1993, 1994, 1995, 1996, 1997
Video tutorial
Is the thermostat on your Golf damaged and needs replacing? Here’s how to do it. Open the front bonnet, remove the clips from the thermostat hose as shown in the video. Remove the alternator (use a socket wrench with the appropriate sockets) and take it out. Unscrew the screws from the thermostat cover. Pull out the sealing cap and extract the thermostat from its housing. Once the part is removed, replace it with a new one, close the compartment with the cap, and securely tighten the retaining bolts with all its parts. Ensure that the thermostat valve is correctly inserted and mounted in the appropriate housing. Refit the alternator and its belt.
Updated on 16 March 2026 by ScegliAuto
Related tutorials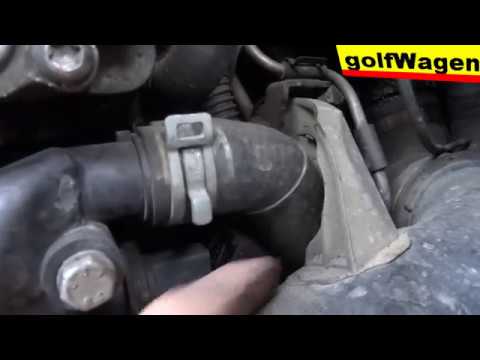
Volkswagen Golf
(2003-2008 /
Golf 5, MK 5, Golf V)
To replace the thermostat of the Volkswagen Golf 5, open the bonnet and access the engine bay: the thermostat is located between the right side of th…

Volkswagen Golf
(2012-2019 /
MK 7, Golf 7, Golf VII)
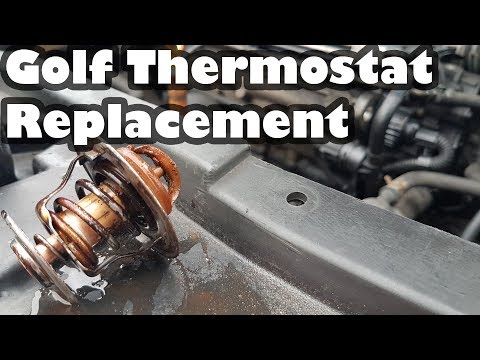
Hello, today’s objective is to replace the thermostat on your Volkswagen Golf. First, ensure the engine is cold. Locate the thermostat position on th…
Volkswagen Golf
(1997-2003 /
Golf IV, Golf 4, MK 4)
Is the thermostat faulty? Follow these steps to replace the part. Remove the cylinder head cover panel, disconnect the hoses near the thermostat. Uns…
Other guides you may be interested in
|
Where to Find and How to Remove the Spare Wheel of a Peugeot 5008?
The spare wheel of a Peugeot 5008 is located under the rear of the vehicle. To remove it, you need to lift the third row of seats to access the fixing bolt that holds the spare wheel in position. Using the correct spanner, proceed to unscrew the fixing bolt until the wheel is no longer secured. At this point, you can extract the spare wheel from underneath the vehicle. Once you have completed this step, you are free to fit the spare wheel. Ensure you correctly remount the spare wheel and securely tighten the fixing bolt when you are finished. by ScegliAuto More videos
|
|
For advertising on this site Write to info@scegliauto.com
ScegliAuto is not responsible for any inaccuracy of the data in the lists. To report any inaccuracy or your business (if you own the business in question), please write to info@scegliauto.com
Number of seconds to generate the page: 0.027
(c) ScegliAuto 2026 - info@scegliauto.com - Privacy policy VAT number: IT01247470535 |
