
|
Do it yourself
| |||
| ||||


Complete Removal of the Centre Tunnel
Model: Volkswagen Golf
Golf IV, Golf 4, MK 4
- Years:
1997, 1998, 1999, 2000, 2001, 2002, 2003
Video tutorial
Open the drawer and remove the rear ashtray. Unscrew the screws from the ashtray compartment and slide out the complete console, lifting it gently to allow disconnection of the connectors located at the back. Using a plastic tool to avoid damaging the bodywork, lever at the base and remove the panel, taking care with the electrical connections that must be removed carefully. Still using a plastic tool, lever at the base of the tunnel above the gearbox to release the plastic clips of the cover and remove it by disconnecting the connectors. Remove the screws at the bottom of the tunnel and the glove compartment, then disconnect all connectors. Now you can remove the entire tunnel.
Updated on 7 February 2026 by ScegliAuto
Related tutorials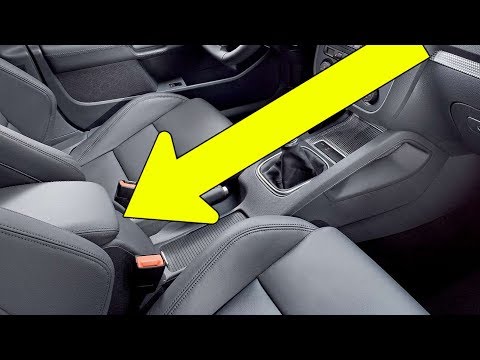
Volkswagen Golf
(2003-2008 /
Golf 5, MK 5, Golf V)
Let’s see how to remove the armrest on the centre tunnel of a Volkswagen Golf. Unscrew the securing screws (located inside the cup holder) with a scr…

Volkswagen Golf
(2003-2008 /
Golf 5, MK 5, Golf V)
Removing the damaged gear knob from a VW Golf 5. Remove the knob and replace it with a new one. Take off the leather gaiter frame located above the c…
Volkswagen Golf
(2012-2019 /
MK 7, Golf 7, Golf VII)
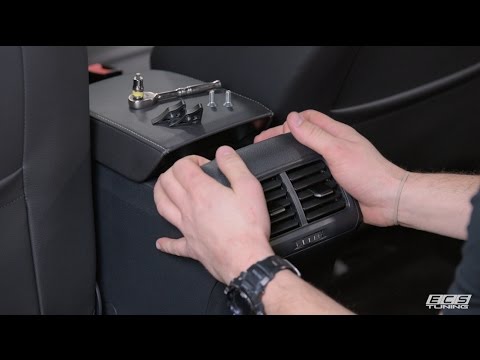
Here’s how to remove the armrest located above the centre tunnel of a Volkswagen Golf Mk7. Move the leather armrest forward, then remove the air vent…
Other guides you may be interested in
|
How to Remove the Rear Seat of a Hyundai Tucson?
To remove the rear seat of a Hyundai Tucson, follow these steps. Start by moving the front seats to their most forward position to gain space. Next, locate the release lever on the underside of the rear seat, near the floor. Press this lever down while pulling the seat upwards to unlock it from the anchor pins. Once unlocked, tilt the seat upwards and forwards to remove it from its position. Repeat this process for both sides of the rear seat. Be careful of any electrical cables or components that may be connected to the seat during removal. Once the rear seat is removed, the disassembly is complete. by ScegliAuto More videos
|
|
For advertising on this site Write to info@scegliauto.com
ScegliAuto is not responsible for any inaccuracy of the data in the lists. To report any inaccuracy or your business (if you own the business in question), please write to info@scegliauto.com
Number of seconds to generate the page: 0.029
(c) ScegliAuto 2026 - info@scegliauto.com - Privacy policy VAT number: IT01247470535 |
