
|
Do it yourself
| |||
| ||||


How to Replace the Serpentine Belt
Model: Volkswagen Jetta
MK 5, A5
- Years 2005-2010
Serpentine belt drives last longer and perform better if proper care and attention are maintained during installation and, particularly, during the first 24 hours of operation. This is the most critical time for serpentine belts. Ensure correct mounting and alignment of the pulleys. It is crucial that the pulleys are mounted and aligned correctly. Each pulley must be assembled properly, and the bolts and screws must be tightened according to the recommended torque. After turning off the engine, securing access to the control panel, and removing the cover, loosen the engine mounting bolts. Move the engine until the tension on the belt is reduced, allowing it to be removed more easily.
Updated on 22 February 2026 by ScegliAuto
Video tutorial
Related tutorials
Volkswagen Jetta
(1998-2005 /
A4, MK 4)
In this guide, we will see the main instructions for disassembling and replacing the timing belt of the Volkswagen Jetta 1.9 TDI; the service manual …

Volkswagen Jetta
(1998-2005 /
A4, MK 4)
Today we will discover the main information on how to disassemble and replace the timing belt of the Volkswagen Jetta 1.8T. First, we open the car's …

Volkswagen Jetta
(2010-2018 /
MK 6, A6)
Today we will see the main directions that will allow us to disassemble and replace the timing belt of the Volkswagen Jetta 2.0L. First, we open the …
Other guides you may be interested in
|
How to change the time on a Toyota Yaris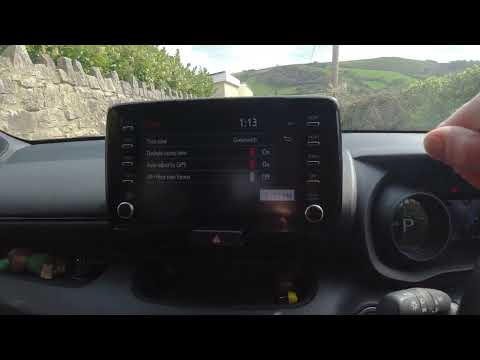
In this video we see how to change the time on a Toyota Yaris, specifically when it comes to switching from daylight saving time to standard time and vice versa. We go to the multifunction screen and press "settings": from there we go to press the clock, simply click on daylight saving time, and the clock will change the time for us, without doing anything else. All we want to do is just adjust the time format to 12 or 24 hours, as is customary in the area where we live: for example in Anglo-Saxon countries it is common to set the time to 12 hours, while in the European Union it is normally set to 24 hours. by ScegliAuto More videos
|

|
For advertising on this site Write to info@scegliauto.com
ScegliAuto is not responsible for any inaccuracy of the data in the lists. To report any inaccuracy or your business (if you own the business in question), please write to info@scegliauto.com
Number of seconds to generate the page: 0.089
(c) ScegliAuto 2026 - info@scegliauto.com - Privacy policy VAT number: IT01247470535 |
