
|
Do it yourself
| |||
| ||||


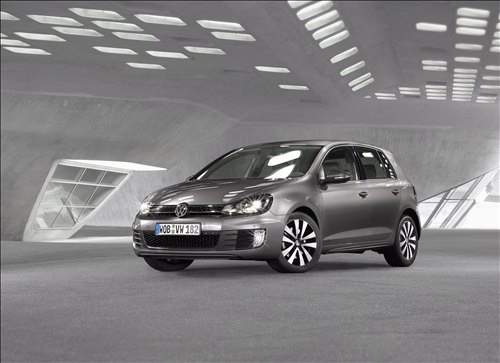
How to Replace the Auxiliary Belt on a Volkswagen Golf 6 1.6 TDI
Model: Volkswagen Golf
Golf 6, MK 6, 5K1, Golf VI
- Years:
2008, 2009, 2010, 2011, 2012
Video tutorial
To replace the auxiliary belt on a Volkswagen Golf 6 1.6 TDI, start by raising the car and removing the front right wheel. Disconnect the battery, then unscrew the Torx screws to remove the inner wheel arch. Loosen the belt using a spanner on the tensioner and insert a pin to lock the tensioner, then remove the auxiliary belt. Next, remove the intercooler pipe. Using a 13mm spanner, unscrew the screws from the air conditioning compressor, disconnect the compressor connector, and also remove the third bolt. Remove the fixing screw for the intercooler duct and the second screw without removing it completely. Unscrew the top screw of the intercooler duct, disconnect the sensor connector, and remove the intercooler duct. Unscrew the tensioner screw and remove it. Now take the new tensioner, place it in its seat, screw it back in, and reassemble the components removed to access the tensioner. Install the new auxiliary belt, ensuring it is fitted according to the manufacturer's diagram. Loosen the tensioner, remove the locking pin from the tensioner, and check that the belt is correctly positioned on the pulleys. Refit the wheel arch, the wheel, and lower the car.
Updated on 2 October 2026 by ScegliAuto
Related tutorials
Volkswagen Golf
(2012-2019 /
MK 7, Golf 7, Golf VII)
Today's guide will show you the steps to remove and replace the timing belt on a Volkswagen Golf 2.0 TDI; for this type of engine, the belt should be…

Volkswagen Golf
(2012-2019 /
MK 7, Golf 7, Golf VII)
Below we will see the main information regarding the disassembly and replacement of the timing belt of the Volkswagen Golf 2.0 TDI. First, we open th…

Volkswagen Golf
(1997-2003 /
Golf IV, Golf 4, MK 4)
The following steps will show us how to disassemble and replace the timing belt of the Volkswagen Golf 1.9 TDI. First, we open the hood of the car an…
Other guides you may be interested in
|
How to reset the tyre pressure warning light on the Kia Niro EV?
To reset the tyre pressure warning light on the Kia Niro EV, inflate the tyres until they reach the correct pressure value. This value is indicated on the sticker attached to the driver's door pillar. Once the tyres are inflated, turn on the instrument cluster to check that the warning light has completely disappeared from the display. If it is still present, you may need to drive for a few miles to ensure it disappears completely from the screen. by ScegliAuto More videos
|
|
For advertising on this site Write to info@scegliauto.com
ScegliAuto is not responsible for any inaccuracy of the data in the lists. To report any inaccuracy or your business (if you own the business in question), please write to info@scegliauto.com
Number of seconds to generate the page: 0.086
(c) ScegliAuto 2026 - info@scegliauto.com - Privacy policy VAT number: IT01247470535 |
