
|
Do it yourself
| |||
| ||||


How to replace the position light on the Volvo XC70
Model: Volvo Xc70
MK 3
- Years 2007-2016
This guide shows how to replace the bulb of the position lights on the Volvo XC70. The first step is to open the bonnet and remove the two metal clips of the headlight on the side where you will perform the replacement. At this point, carefully remove the headlight and disconnect the electrical connector. Now you can work on the back of the headlight; after detaching the metal pin and the two plastic tabs, you can remove the cover of the bulb holder. The position light bulb is located in the middle of the headlight housing; using a small flathead screwdriver, you can lever the retaining tab of the bulb and pull it from the wires. To extract the old bulb, pull the bulb from the holder. Once the new bulb is installed, you can close the rear cover of the headlight and reinstall the assembly in position after reconnecting the power cable. Reinsert the securing clips of the headlight and check the proper functioning.
Updated on 25 April 2026 by ScegliAuto
Video tutorial
Related tutorials
Volvo Xc70
(2000-2007 /
MK 2)
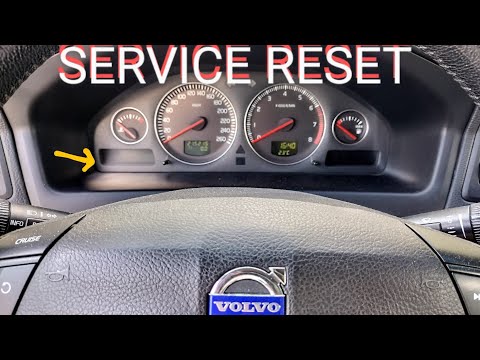
Given the importance of regularly servicing your vehicle, a warning system alerts you with a message on the dashboard of the Volvo XC70. After comple…
Volvo Xc70
(2000-2007 /
MK 2)
The activation of the orange triangular light with an exclamation mark in the centre on the instrument panel of the Volvo XC70 warns you that you are…

Volvo Xc70
(2007-2016 /
MK 3)
Shortly we will see the information that will allow us to reset the service maintenance reminder for the engine oil change of the Volvo XC70. First, …
Other guides you may be interested in
|
How to Replace the Battery on a Honda Vision 110
To replace the battery on a Honda Vision 110, you need to remove the front fairing of the motorcycle, located directly under the front headlamp. To loosen this panel, unscrew the two screws found at its top, just below the handlebar. Once these screws are loosened, lever under the panel to detach it, gaining access to the battery underneath: this battery must be removed from its housing by unscrewing the fixing screws and disconnecting the power cables, replacing it with a new one. by ScegliAuto More videos
|

|
For advertising on this site Write to info@scegliauto.com
ScegliAuto is not responsible for any inaccuracy of the data in the lists. To report any inaccuracy or your business (if you own the business in question), please write to info@scegliauto.com
Number of seconds to generate the page: 0.389
(c) ScegliAuto 2026 - info@scegliauto.com - Privacy policy VAT number: IT01247470535 |
