
|
Do it yourself
| |||
| ||||


Installing the Throttle Body Hose Kit
Model: Volvo S60
MK 1
- Years:
2000, 2001, 2002, 2003, 2004, 2005, 2006, 2007, 2008, 2009
Video tutorial
This video shows how to install new hoses to the throttle body of a Volvo S60. First, disconnect the negative terminal of the battery. To work more easily, it is advisable to remove the air box. Remove the 10 mm bolts that secure it and disconnect the air hose. Unplug the MAF (mass air flow) connector. Remove the clips that secure the vacuum hoses connected to the throttle body. Remove the clips and take off the intake manifold. Install the throttle body cover and first reattach the "elbow" part (the one with the sharper angle) of a new main hose, then the longer part. Use the original clips as a reference for proper positioning. Join the two parts by tightening the metal clamp that connects them. Reconnect the vacuum hoses and restore the original setup by reversing the disassembly steps.
Updated on 9 February 2026 by ScegliAuto
Related tutorials
Volvo S60
(2000-2009 /
MK 1)
ETM stands for Electronic Throttle Module; it is the throttle body that includes a position sensor made up of a potentiometer that wears out due to c…
Volvo S60
(2000-2009 /
MK 1)
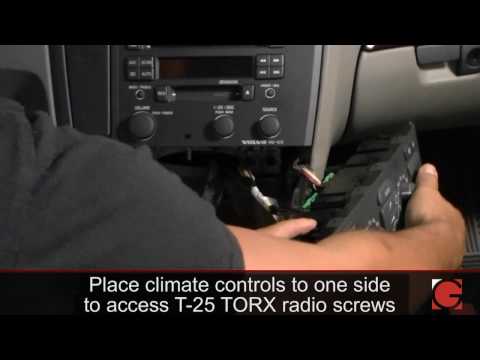
Using a plastic tool to avoid damaging the body, pry on the side clips of the climate control panel to remove it and access the retaining screws of t…

Volvo S60
(2000-2009 /
MK 1)
Position the gear lever in D (drive) and use a plastic lever to detach the plastic trim under the gear lever from the back and pull it forward (befor…
Other guides you may be interested in
|
How to Remove the Rear Seat of a Hyundai Tucson?
To remove the rear seat of a Hyundai Tucson, follow these steps. Start by moving the front seats to their most forward position to gain space. Next, locate the release lever on the underside of the rear seat, near the floor. Press this lever down while pulling the seat upwards to unlock it from the anchor pins. Once unlocked, tilt the seat upwards and forwards to remove it from its position. Repeat this process for both sides of the rear seat. Be careful of any electrical cables or components that may be connected to the seat during removal. Once the rear seat is removed, the disassembly is complete. by ScegliAuto More videos
|
|
For advertising on this site Write to info@scegliauto.com
ScegliAuto is not responsible for any inaccuracy of the data in the lists. To report any inaccuracy or your business (if you own the business in question), please write to info@scegliauto.com
Number of seconds to generate the page: 0.076
(c) ScegliAuto 2026 - info@scegliauto.com - Privacy policy VAT number: IT01247470535 |
