
|
Do it yourself
| |||
| ||||


Removing Car Radio and Installing iPod Accessory Kit
Model: Volvo S60
MK 1
- Years 2000-2009
Position the gear lever in D (drive) and use a plastic lever to detach the plastic trim under the gear lever from the back and pull it forward (before proceeding with disassembly, it is recommended to protect the trim with a cloth). Using a T20 Torx screwdriver, remove the front screws securing the center console (usually marked with a red marker) and detach the console itself. At this point, run the wiring of the iPod adapter kit from behind the air duct to bring the Aux output inside the glove compartment and the control unit inside the center tunnel. For powering the control unit, you can connect it to the car radio (black control unit with brown radio; yellow control unit with red radio), ensuring proper insulation of the connections. Finally, reconnect all plugs and securely fasten the wiring, reassemble the center console, and reattach the gear lever trim.
Updated on 3 February 2026 by ScegliAuto
This video is currently unavailable
Related tutorials
Volvo S60
(2000-2009 /
MK 1)
Using a plastic tool to avoid damaging the body, pry on the side clips of the climate control panel to remove it and access the retaining screws of t…
Volvo S60
(2000-2009 /
MK 1)
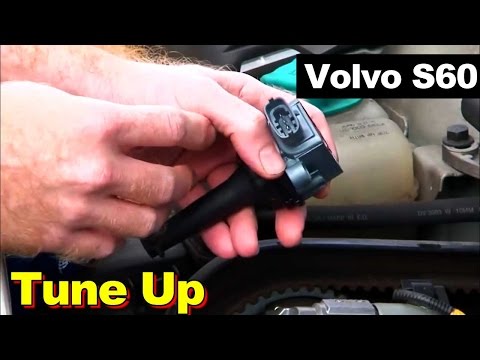
To replace the spark plugs, remove the rear engine cover by unscrewing the perimeter screws and the timing belt cover. After removing the covers, dis…
Volvo S60
(2000-2009 /
MK 1)
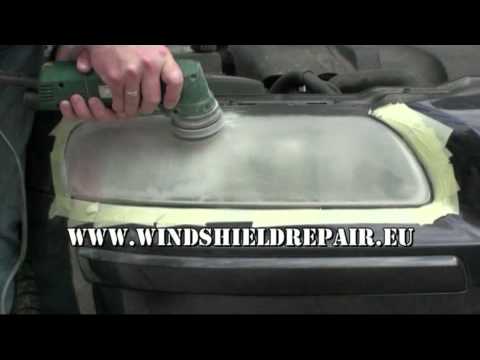
If the headlights have become particularly yellowed and cloudy, you can restore them with a dedicated polishing kit. Open the hood and apply masking …
Other guides you may be interested in
|
How to Open the Bonnet of a Renault Megane if the Lever is Broken?
If the lever that unlocks the bonnet of the Renault Megane is broken or not functioning, there is an emergency procedure to unlock the mechanism: remove the right front grille located at the top of the bumper. Once the grille is removed, you can locate the actuator mechanism: by pulling the spring in this position, you can unlock the actuator, allowing you to lift the bonnet and access the components located inside the engine compartment. You can then close the bonnet simply by lowering it. by ScegliAuto More videos
|
|
For advertising on this site Write to info@scegliauto.com
ScegliAuto is not responsible for any inaccuracy of the data in the lists. To report any inaccuracy or your business (if you own the business in question), please write to info@scegliauto.com
Number of seconds to generate the page: 0.377
(c) ScegliAuto 2026 - info@scegliauto.com - Privacy policy VAT number: IT01247470535 |
