
|
Do it yourself
| |||
| ||||


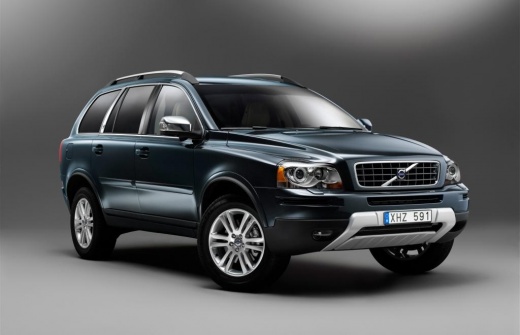
Front Shock Mount Replacement
Model: Volvo Xc90
MK 1
- Years:
2002, 2003, 2004, 2005, 2006, 2007, 2008, 2009, 2010, 2011, 2012, 2013
Video tutorial
If the front shock mount fails, noise becomes quite pronounced and annoying. To replace this mount, you need to remove the shock absorber. First, lift the vehicle using a lift, remove the front wheel, and disconnect the sway bar link from the shock absorber. Next, unscrew the bolts that secure the shock absorber to the hub mount, then access the engine bay to unscrew the nuts securing the mount to the strut tower and remove the shock absorber with the mount. Place the shock absorber in a spring compressor tool to compress the spring and remove the mount from the shock shaft. Install the new mount, release the spring, and reverse the steps to reassemble the vehicle.
Updated on 17 February 2026 by ScegliAuto
Related tutorials
Volvo Xc90
(2002-2014 /
MK 1)
Replacing the rear shock absorber is straightforward since the spring is not co-axial with the absorber but mounted on the rear suspension axle. To r…

Volvo Xc90
(2002-2014 /
MK 1)
Damage to the spherical joints of the links results in a noise that resembles a thumping sound, especially when driving on rough terrain; the link co…

Volvo Xc90
(2002-2014 /
MK 1)
Replacing the rear windshield wiper blade is very simple: before proceeding with the replacement, ensure that the new blade is fully compatible in bo…
Other guides you may be interested in
|
How to Remove the Rear Seat of a Hyundai Tucson?
To remove the rear seat of a Hyundai Tucson, follow these steps. Start by moving the front seats to their most forward position to gain space. Next, locate the release lever on the underside of the rear seat, near the floor. Press this lever down while pulling the seat upwards to unlock it from the anchor pins. Once unlocked, tilt the seat upwards and forwards to remove it from its position. Repeat this process for both sides of the rear seat. Be careful of any electrical cables or components that may be connected to the seat during removal. Once the rear seat is removed, the disassembly is complete. by ScegliAuto More videos
|
|
For advertising on this site Write to info@scegliauto.com
ScegliAuto is not responsible for any inaccuracy of the data in the lists. To report any inaccuracy or your business (if you own the business in question), please write to info@scegliauto.com
Number of seconds to generate the page: 0.025
(c) ScegliAuto 2026 - info@scegliauto.com - Privacy policy VAT number: IT01247470535 |
