
|
Do it yourself
| |||
| ||||


Clean the Throttle Body Without Dismantling
Model: Alfa Romeo 166
MK 1
- Years 1998-2007
If there are carburetion problems with fluctuations in engine RPM, it is necessary to clean the throttle adjustment system. The first operation is to unscrew the air hose clamp. Once the hose is removed, you can notice the state of dirt on the regulator. It is possible to clean the regulator without the need to dismantle the entire unit, simply using a special spray. Initially, clean the entrance of the regulator using a cloth soaked in spray without touching the throttle. Start the vehicle and, while the engine is running, spray the cleaner into the inlet without overdoing it, using small bursts. Ensure that no foreign objects are sucked in during this operation. If the throttle is not touched, calibration is not necessary. Refit the hose.
Updated on 7 February 2026 by ScegliAuto
This video is currently unavailable
Related tutorials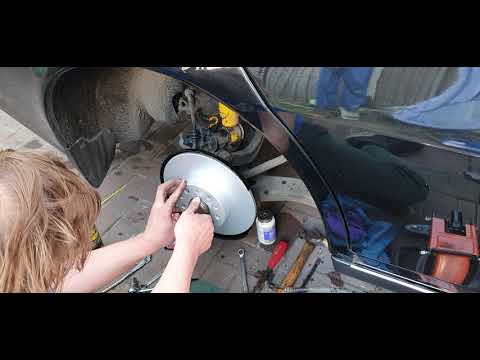
Alfa Romeo 166
(1998-2007 /
MK 1)
Before starting, lift the rear end of your Alfa Romeo 166. Begin by removing the rear wheel by unscrewing the fixing bolts. Next, unscrew and remove …
Alfa Romeo 166
(1998-2007 /
MK 1)
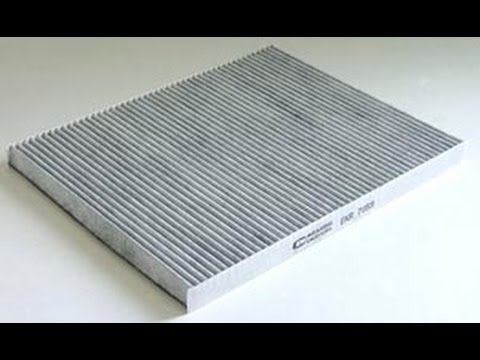
Before you start, open the front bonnet of your Alfa Romeo 166. Begin by unclipping and removing the cover of the cabin air filter, located above the…
Alfa Romeo 166
(1998-2007 /
MK 1)
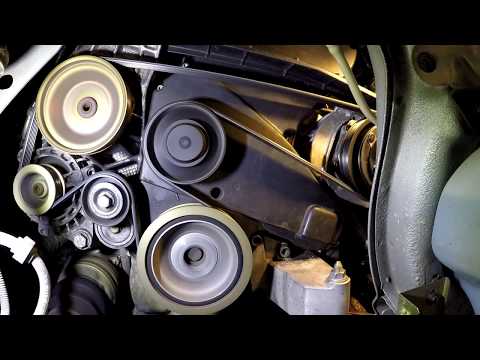
Has the timing belt on your Alfa Romeo 166 become old and therefore needs to be removed? Here’s how to remove the belts. Remove the front wheel and t…
Other guides you may be interested in
|
How to Remove the Front Bumper of the Citroën C4 Picasso?
To remove the front bumper of the Citroën C4 Picasso, you need to take out all the rivets and screws that secure the piece to its housing: these screws are located inside the wheel arches of the front wheels and at the central upper part of the bumper itself. Once all these fastening elements have been removed, you can detach the bumper from its seat by disconnecting the connectors inside and then insert the new replacement part. The new part can then be secured and connected properly, ensuring it is correctly fixed in place. by ScegliAuto More videos
|
|
For advertising on this site Write to info@scegliauto.com
ScegliAuto is not responsible for any inaccuracy of the data in the lists. To report any inaccuracy or your business (if you own the business in question), please write to info@scegliauto.com
Number of seconds to generate the page: 0.076
(c) ScegliAuto 2026 - info@scegliauto.com - Privacy policy VAT number: IT01247470535 |
