
|
Do it yourself
| |||
| ||||



How to Replace the Battery in a BMW Remote
Model: BMW Serie 3
E92, E90, E91
- Years:
2005, 2006, 2007, 2008, 2009, 2010, 2011, 2012, 2013
Video tutorial
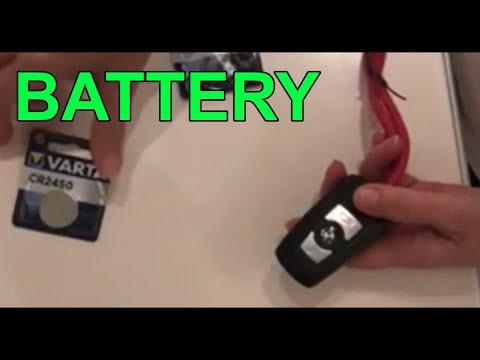
There are different models of remotes. To replace the battery in the simpler ones, simply remove the physical key from the remote and open the cover on the back using a screwdriver. Some models require a more complex procedure; you will need to remove the physical key and open the remote from the side using a screwdriver. At this point, you can take out the electronic board from the body of the remote, where a metal casing holding the battery will be attached. The metal casing acts as a contact and will be connected to the electronic board via two easily visible solder joints. Therefore, using a soldering iron and a solder sucker, you will need to desolder the two contacts from the back of the electronic board to detach the metal casing that holds the battery from the electronic board. Once detached, you will have access to the battery, which can be replaced with an identical one. After that, resolder the two contacts of the metal casing that holds the battery to the electronic board, ensuring that the battery is installed in the correct orientation before reinserting the board into the body of the remote and closing it up.
Updated on 9 March 2026 by ScegliAuto
Related tutorials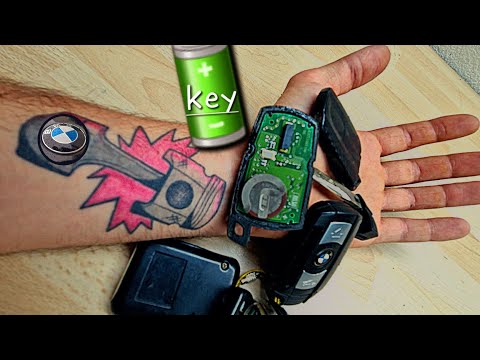
BMW Serie 3
(2005-2013 /
E92, E90, E91)
To change the battery in a BMW E91 key fob: Start by removing the key blade by pressing the appropriate button. Insert a thin tool into the joint of …

BMW Serie 3
(2005-2013 /
E92, E90, E91)
To replace the remote battery of a BMW 3 Series, first slide the key out from the top of the remote. Once the key is removed, use an object to pry op…
BMW Serie 3
(2012-2019 /
F31, F30)
Let's replace the key fob battery on the BMW 3 Series: Take your key fob and press the button to release the metal key. Once extracted, use a screwdr…
Other guides you may be interested in
|
How to reset the tyre pressure warning light on the Kia Niro EV?
To reset the tyre pressure warning light on the Kia Niro EV, inflate the tyres until they reach the correct pressure value. This value is indicated on the sticker attached to the driver's door pillar. Once the tyres are inflated, turn on the instrument cluster to check that the warning light has completely disappeared from the display. If it is still present, you may need to drive for a few miles to ensure it disappears completely from the screen. by ScegliAuto More videos
|
|
For advertising on this site Write to info@scegliauto.com
ScegliAuto is not responsible for any inaccuracy of the data in the lists. To report any inaccuracy or your business (if you own the business in question), please write to info@scegliauto.com
Number of seconds to generate the page: 0.155
(c) ScegliAuto 2026 - info@scegliauto.com - Privacy policy VAT number: IT01247470535 |
