
|
Do it yourself
| |||
| ||||


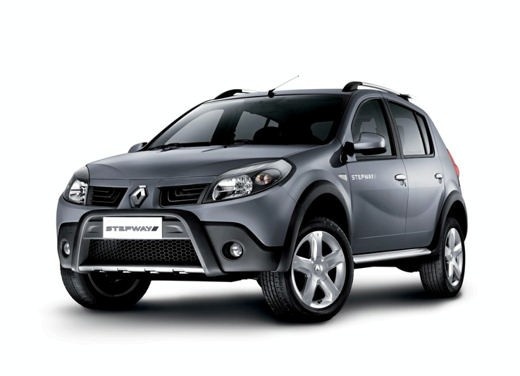
How to check the fluid levels in the Dacia Sandero
Model: Dacia Sandero
BS
- Years:
2008, 2009, 2010, 2011, 2012
Video tutorial
The holidays have started and you have already planned a car trip, but you forgot to have the fluid levels checked at the garage. Don't worry, today you will learn how to perform this operation independently on a Dacia Sandero. To check the oil level in the reservoir, park the car and remove the oil dipstick, clean it, and reinsert it. Check the oil level, which should be halfway between the MAX and MIN marks. If the level is lower, top up the oil by pouring it into the engine oil reservoir. To check the coolant, windscreen washer fluid, and brake fluid levels, simply look at the transparent reservoir, which allows you to see at a glance if the level is low or normal. If it is low, just open the cap and pour in the corresponding fluid.
Updated on 19 October 2026 by ScegliAuto
Related tutorials
Dacia Sandero
(2021-2026 /
MK 3)
In today's video, learn how to perform maintenance checks on the Dacia Sandero. First, we recommend working with a cold bonnet to avoid unpleasant bu…

Dacia Sandero
(2021-2026 /
MK 3)
Here's how to check the fluid levels on a Dacia Sandero: the engine must be off for at least 30 minutes. Open the bonnet and start by checking the en…

Dacia Sandero
(2008-2012 /
BS)
It will be possible to install the tow hitch on the Dacia Sandero by first removing the rear bumper: to do this, you will need to open the rear hatch…
Other guides you may be interested in
|
How to Remove the Rear Seat of a Hyundai Tucson?
To remove the rear seat of a Hyundai Tucson, follow these steps. Start by moving the front seats to their most forward position to gain space. Next, locate the release lever on the underside of the rear seat, near the floor. Press this lever down while pulling the seat upwards to unlock it from the anchor pins. Once unlocked, tilt the seat upwards and forwards to remove it from its position. Repeat this process for both sides of the rear seat. Be careful of any electrical cables or components that may be connected to the seat during removal. Once the rear seat is removed, the disassembly is complete. by ScegliAuto More videos
|
|
For advertising on this site Write to info@scegliauto.com
ScegliAuto is not responsible for any inaccuracy of the data in the lists. To report any inaccuracy or your business (if you own the business in question), please write to info@scegliauto.com
Number of seconds to generate the page: 0.056
(c) ScegliAuto 2026 - info@scegliauto.com - Privacy policy VAT number: IT01247470535 |
