
|
Do it yourself
| |||
| ||||



Engine Oil and Filter Replacement for the Fiat Bravo
Model: Fiat Bravo
Bravo 2
- Years:
2007, 2008, 2009, 2010, 2011, 2012, 2013, 2014
Video tutorial
Here’s how to replace the oil and oil filter in a Fiat Bravo. Open the bonnet and unscrew the oil filler cap, then remove the dipstick. Raise the car and unscrew the screws to remove the undertray, using a 10 mm socket to unscrew the passenger side wheel arch cover. Place a collection tray under the engine sump, clean the surfaces around the drain plug, and unscrew it to let the used oil drain out. Unscrew the oil filter cap, remove the old filter element, and take off the O-ring. Insert the new filter and new gasket, applying a thin layer of oil to the gasket. Screw in the filter, tightening it with a torque wrench to 25 Nm. Refit the drain plug, replace the wheel arch cover and the undertray, then lower the car. Using a funnel, add approximately 4.6 litres of new oil into the filler neck, start the engine, and wait for the oil warning light to turn off, then switch off the engine. Check the level with the dipstick to ensure it is between the min and max marks, topping up if necessary.
Updated on 13 August 2026 by ScegliAuto
Related tutorials
Fiat Bravo
(2007-2014 /
Bravo 2)
When the oil warning light comes on in a Fiat Bravo, you need to replace the oil and the corresponding filter. Open the front bonnet and the oil fill…

Fiat Bravo
(2007-2014 /
Bravo 2)
How do you remove the engine oil filter on a Fiat Bravo? Follow this guide to proceed with the replacement: open the car door and pull up the engine …
Fiat Bravo
(2007-2014 /
Bravo 2)
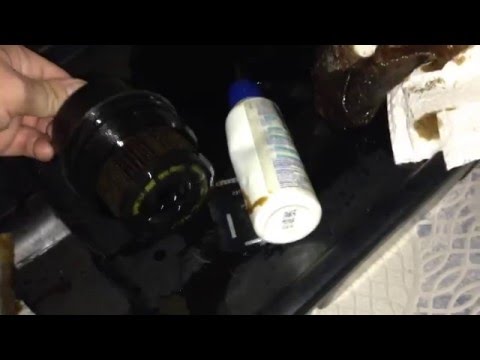
How to replace the oil filter on a Fiat Bravo? Follow this guide to proceed with the replacement: open the car door and pull up the engine compartmen…
Other guides you may be interested in
|
How to Remove the Toll Tag Holder from the Car Windscreen
The toll tag holder is usually attached to the car windscreen to ensure that the toll tag functions immediately when passing through barriers. However, if you decide to remove the holder, you should follow this procedure: - Insert the toll tag into the holder; - Pull the holder inwards to detach it from the windscreen; you can use a glass scraper or a stiff plastic card to assist you; After removing the holder, it is essential to remove the adhesive from the windscreen. To remove the adhesive, we recommend using a solvent-based spray that will remove the glue without clouding the area. by ScegliAuto More videos
|
|
For advertising on this site Write to info@scegliauto.com
ScegliAuto is not responsible for any inaccuracy of the data in the lists. To report any inaccuracy or your business (if you own the business in question), please write to info@scegliauto.com
Number of seconds to generate the page: 0.049
(c) ScegliAuto 2026 - info@scegliauto.com - Privacy policy VAT number: IT01247470535 |
