
|
Do it yourself
| |||
| ||||


Difficulty accessing the alternator of the Ford Focus.
Model: Ford Focus
MK 3
- Years 2011-2018
In this video, the youtuber shows us his disappointment at the evident difficulty in reaching and disassembling - and then introducing and reassembling - the alternator in the engine of a Ford Focus: in fact, this is true for several versions of this car. The one in the video is a 1.6 TDCi, where the alternator is mounted at the bottom, near the engine support, which often needs to be removed, along with the timing belt and the vibration damper. However, removal is also problematic on the 1.5 TDCi of the MK3: here the difficulty lies in the fact that, being located in a lower side position, it requires the removal of the right front wheel and the inner fender, as well as the disassembly of cooling cables and tubes. On the 2.0 petrol engine versions prior to 2010, the alternator is located at the top, but is blocked by cables, tubes, and other components, making it difficult to do the job without removing a good part of these pieces.
Posted on 19 June 2025 by ScegliAuto
Video tutorial
Related tutorials
Ford Focus
(2004-2011 /
MK 2, Focus 2)
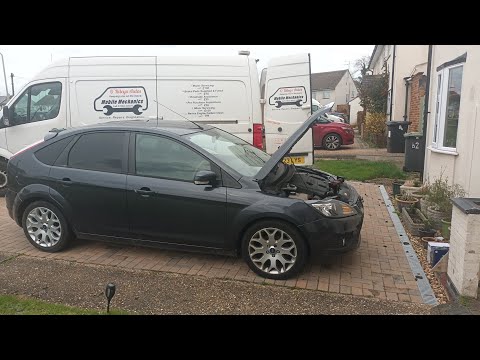
In this video tutorial, you will learn how to remove the alternator from a Ford Focus 1.6 TdCi second series, which is also applicable to the Ford C-…
Ford Focus
(2004-2011 /
MK 2, Focus 2)
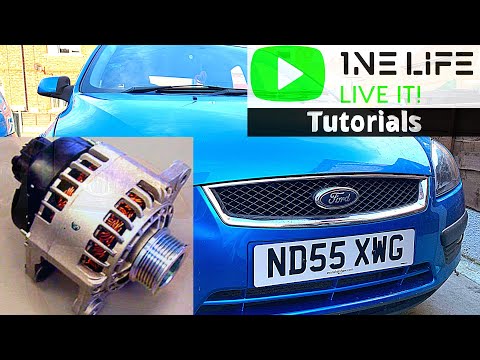
Here are the instructions to remove and replace the alternator on a Ford Focus 1.6 TDCi. First, open the bonnet of your car and remove the plastic en…
Ford Focus
(2004-2011 /
MK 2, Focus 2)
To replace the alternator on a Ford Focus, open the bonnet to access the engine bay and locate the component, which is situated beneath the power ste…
Other guides you may be interested in
|
How to Open the Bonnet on the Lancia Y
To open the bonnet on this vehicle, follow these simple instructions: first, open the driver's door and locate the lever positioned just below the dashboard, marked with an image of the vehicle with the bonnet open. Pull this lever towards you until you hear a "click" indicating the bonnet is released. Next, exit the cabin and stand in front of the bonnet to disengage the safety catch and complete the opening. To do this, slightly lift the bonnet, locate the yellow lever underneath, and pull it to the left to fully release and open the bonnet. by ScegliAuto More videos
|

|
For advertising on this site Write to info@scegliauto.com
ScegliAuto is not responsible for any inaccuracy of the data in the lists. To report any inaccuracy or your business (if you own the business in question), please write to info@scegliauto.com
Number of seconds to generate the page: 0.105
(c) ScegliAuto 2026 - info@scegliauto.com - Privacy policy VAT number: IT01247470535 |
