
|
Do it yourself
| |||
| ||||


How to clean the EGR valve of the Ford Transit
Model: Ford Transit
MK 8
- Years 2014-2024
The first thing we need to clean an EGR valve is a specific cleaner, like the Arexons that we can find on Amazon with the code B01FY0IDDQ at the price of 15.15 euros, with free delivery in 4 days for Prime customers. We need to disconnect the battery, locate the valve which is on the intake manifold, connected to a metal pipe that comes from the exhaust, and then we need to remove some components: the electrical connector or the vacuum hose; the intercooler hose; the inlet and outlet pipes, the fastening bolts. It is not necessary to disassemble everything, so we do not open the throttle body as well. We spray the cleaner generously on all internal parts, especially on the piston and ducts. We let it sit for 10/15 minutes and then gently scrub with nylon brushes (never metal). We rinse with more cleaner and dry with clean rags. We reassemble everything with these torque specifications: valve fastening bolts: 10 Nm; intercooler hose: 10 Nm; EGR gas pipes: 20 Nm. We reconnect the electrical connector and hoses, reconnect the battery, and start the engine.
Posted on 11 January 2026 by ScegliAuto
Video tutorial
Related tutorials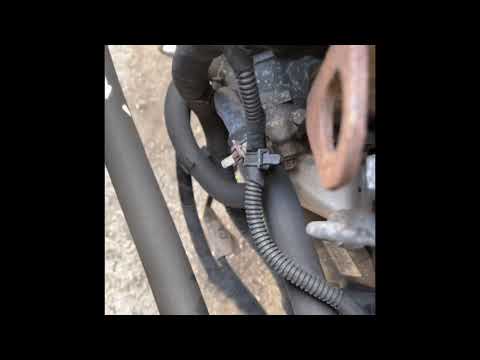
Ford Transit
(2006-2014 /
MK 7)
Remove the engine cover by lifting the bonnet and securing it. Then, using a screwdriver, unscrew the locking pins of the ventilation pipe and remove…

Ford Transit
(2006-2014 /
MK 7)
To replace the EGR valve on a Ford Transit, turn off the engine and wait for it to cool down. Then, open the bonnet and disconnect the negative termi…

Ford Transit
(2006-2014 /
MK 7)
In this tutorial we can see how to disassemble the EGR valve in the Ford Transit van, a very simple and quick operation, to be carried out in order t…
Other guides you may be interested in
|
Frequently Asked QuestionsHow to Open the Bonnet on the Lancia Y
To open the bonnet on this vehicle, follow these simple instructions: first, open the driver's door and locate the lever positioned just below the dashboard, marked with an image of the vehicle with the bonnet open. Pull this lever towards you until you hear a "click" indicating the bonnet is released. Next, exit the cabin and stand in front of the bonnet to disengage the safety catch and complete the opening. To do this, slightly lift the bonnet, locate the yellow lever underneath, and pull it to the left to fully release and open the bonnet. by ScegliAuto More videos
|
For advertising on this site Write to info@scegliauto.com
ScegliAuto is not responsible for any inaccuracy of the data in the lists. To report any inaccuracy or your business (if you own the business in question), please write to info@scegliauto.com
Number of seconds to generate the page: 0.560
(c) ScegliAuto 2026 - info@scegliauto.com - Privacy policy VAT number: IT01247470535 |
