
|
Do it yourself
| |||
| ||||


Installing Front Fog Lights
Model: Honda CR-V
MK 3
- Years 2007-2012
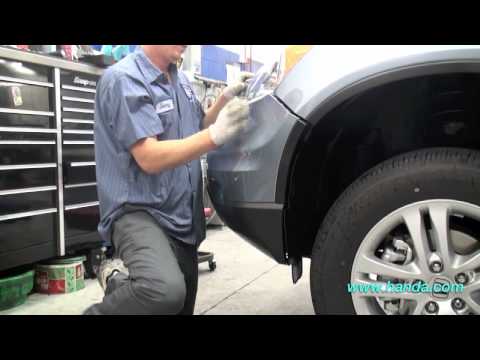
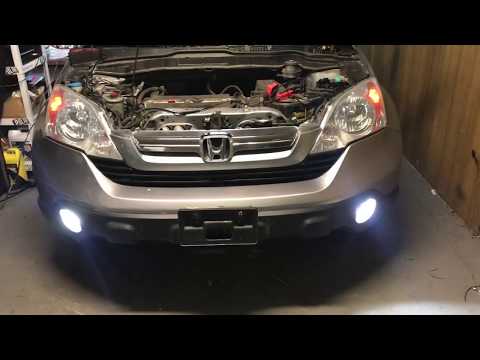
Remove the engine cover by taking out the seven clips. Remove the screws under the caps and the clips securing the bumper located in the wheel arches and underneath the bodywork. Once this is done, completely remove the bumper. The bumper already has provisions for the installation of the fog lights where the temporary closure caps need to be removed. Insert the seals into the newly freed holes and install the fog lights, securing them with the appropriate brackets provided. Remove the five screws from the wing protection. Install the fog light power cables by passing them through the designated holes to connect them to the wires pre-arranged by the manufacturer. Securely fasten the cables and their grounds to the chassis with ties. Reattach the protections. Connect the newly installed cables to the fog lights. Correctly reassemble the bumper and the engine cover. Remove the steering wheel covers and replace the light switch lever with one that has a fog light switch. Install the two necessary wires for the fog light activation in the power connector and install the corresponding relay. Check the correct operation.
Updated on 3 February 2026 by ScegliAuto
Video tutorial
Related tutorials
Honda CR-V
(2007-2012 /
MK 3)
The fuses in the Honda CR-V are located inside the designated fuse boxes mounted on the vehicle: the first is behind the plastic panel located at the…
Honda CR-V
(2007-2012 /
MK 3)
The installation is quite complex and requires at least two hours of work. Remove the engine cover by taking out the seven clips. Remove the screws u…
Honda CR-V
(2007-2012 /
MK 3)
Today, we will see in this short and simple guide how to install the front fog lights on the Honda CR-V, following the instructions below. First, ope…
Other guides you may be interested in
|
How to Open the Bonnet on the Lancia Y
To open the bonnet on this vehicle, follow these simple instructions: first, open the driver's door and locate the lever positioned just below the dashboard, marked with an image of the vehicle with the bonnet open. Pull this lever towards you until you hear a "click" indicating the bonnet is released. Next, exit the cabin and stand in front of the bonnet to disengage the safety catch and complete the opening. To do this, slightly lift the bonnet, locate the yellow lever underneath, and pull it to the left to fully release and open the bonnet. by ScegliAuto More videos
|

|
For advertising on this site Write to info@scegliauto.com
ScegliAuto is not responsible for any inaccuracy of the data in the lists. To report any inaccuracy or your business (if you own the business in question), please write to info@scegliauto.com
Number of seconds to generate the page: 0.640
(c) ScegliAuto 2026 - info@scegliauto.com - Privacy policy VAT number: IT01247470535 |
