
|
Do it yourself
| |||
| ||||



How to Replace the Automatic Transmission Fluid in the Land Rover Discovery II
Model: Land Rover Discovery
LR3, L319, Discovery 3, MK 3
- Years:
2004, 2005, 2006, 2007, 2008, 2009, 2010
Video tutorial
This guide shows how to replace the automatic transmission fluid in the Land Rover Discovery II. The first step is to drain the reservoir by lifting the vehicle and removing the drain plug. Next, detach the bolts securing the transmission protective panel. Use a Torx wrench to remove the screws securing the oil filter. Install the two O-rings on the new filter for the inlet and outlet holes. Replace the oil pan gasket and clean the magnet located in the part. Now, reattach the oil pan and use a grease gun to fill the reservoir. Run the engine to circulate the new oil. Check the level and top off if necessary.
Updated on 22 April 2026 by ScegliAuto
Related tutorials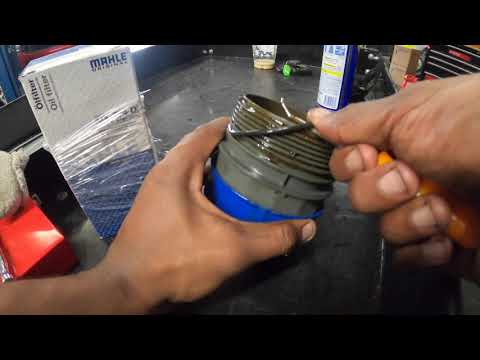
Land Rover Discovery
(2017-2024 /
L462, MK 5, Discovery 5)
Before starting, ensure that the driver door and the hood are open. Activate the instrument cluster of your Land Rover Discovery without starting the…

Land Rover Discovery
(2010-2016 /
MK 4, LR4, Discovery 4)
Finding the OBD port in your 2016 Land Rover Discovery is very simple, and with the following guide, it will literally take you just a few seconds. F…

Land Rover Discovery
(1998-2004 /
L318, Discovery 2, MK 2)
In this brief guide, follow the instructions to remove and replace the horn on the Land Rover Discovery 2. First, open the hood of your vehicle and s…
Other guides you may be interested in
|
Where to Find and How to Remove the Spare Wheel of a Peugeot 5008?
The spare wheel of a Peugeot 5008 is located under the rear of the vehicle. To remove it, you need to lift the third row of seats to access the fixing bolt that holds the spare wheel in position. Using the correct spanner, proceed to unscrew the fixing bolt until the wheel is no longer secured. At this point, you can extract the spare wheel from underneath the vehicle. Once you have completed this step, you are free to fit the spare wheel. Ensure you correctly remount the spare wheel and securely tighten the fixing bolt when you are finished. by ScegliAuto More videos
|
|
For advertising on this site Write to info@scegliauto.com
ScegliAuto is not responsible for any inaccuracy of the data in the lists. To report any inaccuracy or your business (if you own the business in question), please write to info@scegliauto.com
Number of seconds to generate the page: 0.034
(c) ScegliAuto 2026 - info@scegliauto.com - Privacy policy VAT number: IT01247470535 |
