
|
Do it yourself
| |||
| ||||


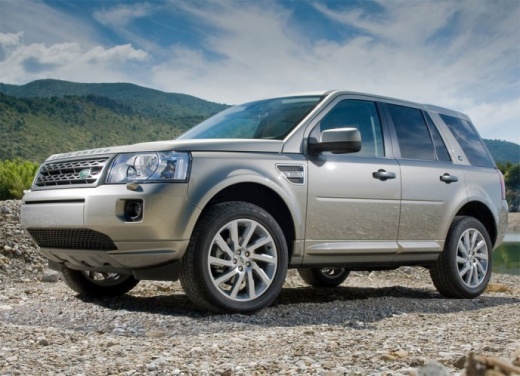
Replacing the Timing Belt on a Land Rover Freelander 2
Model: Land Rover Freelander
Freelander 2
- Years:
2006, 2007, 2008, 2009, 2010, 2011, 2012, 2013, 2014, 2015, 2016
Video tutorial
Replacing the timing belt is not a typical DIY maintenance task, as it requires good general mechanical knowledge and the right tools to ensure correct timing. Start by removing the intake duct, the plastic cover above the engine, then remove the front right wheel and take off the wheel arch cover. Next, loosen the tensioner of the auxiliary belt to slip it off, then remove the duct supplying the turbo compressor and the covers protecting the toothed belt. At this point, remove the crankshaft pulley, align the timing marks, and position the appropriate tools before slipping off the belt itself. When replacing the belt, it is also recommended to replace the water pump, tensioner, and the crankshaft pulley.
Updated on 20 February 2026 by ScegliAuto
Related tutorials
Land Rover Freelander
(2006-2016 /
Freelander 2)
In this video tutorial, you will see the main instructions useful for removing and replacing the timing belt on the Land Rover Freelander. First, ope…
Land Rover Freelander
(1997-2006 /
Freelander 1)
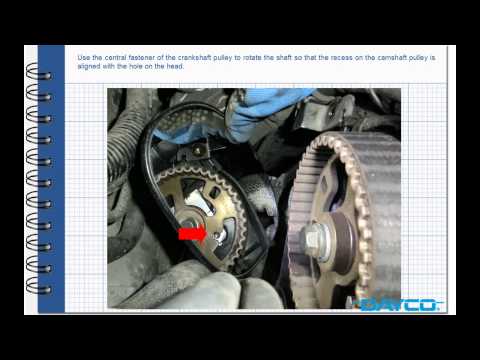
Prepare to replace the timing belt on a Land Rover Freelander: lift the bonnet, remove the engine soundproofing panel and the timing belt cover. Usin…
Land Rover Freelander
(1997-2006 /
Freelander 1)
To replace the timing belt on the Land Rover Freelander, open the bonnet and access the engine bay: the belt is located on the right side of the engi…
Other guides you may be interested in
|
Where to Find and How to Remove the Spare Wheel of a Peugeot 5008?
The spare wheel of a Peugeot 5008 is located under the rear of the vehicle. To remove it, you need to lift the third row of seats to access the fixing bolt that holds the spare wheel in position. Using the correct spanner, proceed to unscrew the fixing bolt until the wheel is no longer secured. At this point, you can extract the spare wheel from underneath the vehicle. Once you have completed this step, you are free to fit the spare wheel. Ensure you correctly remount the spare wheel and securely tighten the fixing bolt when you are finished. by ScegliAuto More videos
|
|
For advertising on this site Write to info@scegliauto.com
ScegliAuto is not responsible for any inaccuracy of the data in the lists. To report any inaccuracy or your business (if you own the business in question), please write to info@scegliauto.com
Number of seconds to generate the page: 0.052
(c) ScegliAuto 2026 - info@scegliauto.com - Privacy policy VAT number: IT01247470535 |
