
|
Do it yourself
| |||
| ||||


How to Remove the Front Bumper of a Mitsubishi L200
Model: Mitsubishi L 200
MK 2
- Years 2005-2015
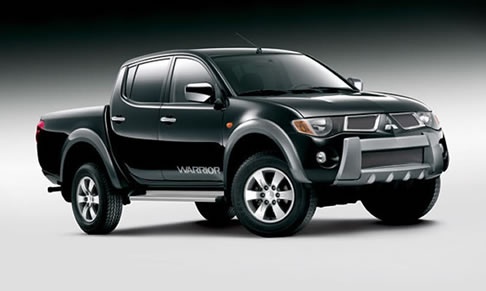
Let's see how to remove the front bumper of a Mitsubishi L200: the bumper is held by a combination of screws, bolts, and plastic clips. Open the bonnet. In the area immediately behind the grille, you will find a series of 10 mm screws that secure the top of the bumper to the chassis. Now turn the wheels fully to create more space: in the wheel arch, the bumper is secured to the wing by several cross screws and some clips. Remove everything with the help of a screwdriver. Under the bumper, there are several screws or bolts securing the undertray to the chassis. Along the upper sides of the bumper (near the headlights) and in the centre, the bumper is secured by expansion plastic clips; use a plastic spatula to gently release them. If you are sure you have removed all the screws from the wheel arch, pull the side horns of the bumper (where the wheel arch meets the wing) outwards to release the pins from the guides. Now simply pull the bumper forward, but without yanking. Disconnect the electrical connectors and the bumper is free.
Posted on 24 April 2026 by ScegliAuto
Video tutorial
Related tutorials
Mitsubishi L 200
(2005-2015 /
MK 2)
Today, let's discover the necessary instructions to remove and replace the front headlight on the Mitsubishi L200. First, open the vehicle's engine b…

…

Mitsubishi L 200
(2015-2024 /
MK 3)
In this new mini guide dedicated to your Mitsubishi L200 Mk3 (2020-2023), we will discover where the fuse box is located and how to access the fuses …
Other guides you may be interested in
|
How to Replace the Cabin Filter on the Opel Grandland X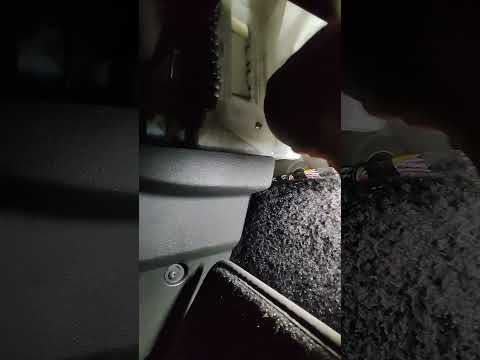
If you own an Opel Grandland X and want to know the steps to replace the cabin air filter, carefully read the following guide and follow the described steps. First, enter the vehicle and go to the passenger side. Then, locate the box containing the air filter in the lower side area of the dashboard. Remove the cover of the box and finally replace the old filter with the new one. Refit the cover, and you are done. by ScegliAuto More videos
|
|
For advertising on this site Write to info@scegliauto.com
ScegliAuto is not responsible for any inaccuracy of the data in the lists. To report any inaccuracy or your business (if you own the business in question), please write to info@scegliauto.com
Number of seconds to generate the page: 0.106
(c) ScegliAuto 2026 - info@scegliauto.com - Privacy policy VAT number: IT01247470535 |
