
|
Do it yourself
| |||
| ||||


Complete Cylinder Head Revision Instructions
Model: Renault Laguna
MK 2, Laguna 2, X74
- Years 2001-2007
After machining the cylinder head, check the flatness of the surface with a straight edge and a feeler gauge for valves; proceed to replace the valve guide seals using a special arch clamp to compress the return spring and remove the valves (lubricate the seals before inserting them into their respective seats); install the thermostat, replacing the corresponding gasket; using the straight edge and feeler gauge, check for any deformations of the exhaust manifold and install it with the new gasket along with the intake manifold; proceed to install the turbocharger, replacing the captive bolts, gaskets, and fixing nuts (also mount the lubrication duct). Check the flatness of the cylinder block, re-tap the threads, and install the cylinder head with the new gasket using a new set of bolts, tightening them with the torque wrench and the graduated wrench (lubricate the variable geometry of the turbo). Insert the new valve lifters, camshaft, and apply gasket sealant before mounting the upper fixing plate; replace the camshaft's side oil seal, install the toothed pulley, and align the timing marks to complete the installation of the timing belt. Finally, secure the rocker cover with the new gasket, the vacuum pump, and the injectors.
Updated on 12 February 2026 by ScegliAuto
Video tutorial
Related tutorials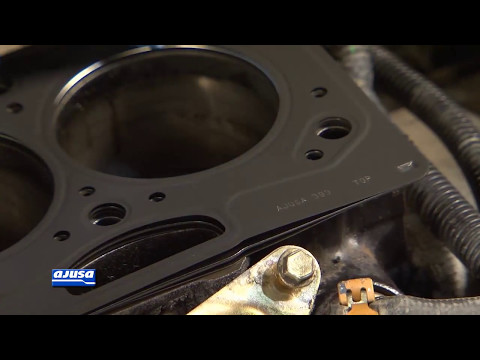
Renault Laguna
(2001-2007 /
MK 2, Laguna 2, X74)
After machining, check for any deformations on the surface of the cylinder head using a straight edge and a feeler gauge; repeat the same check on th…
Renault Laguna
(2001-2007 /
MK 2, Laguna 2, X74)
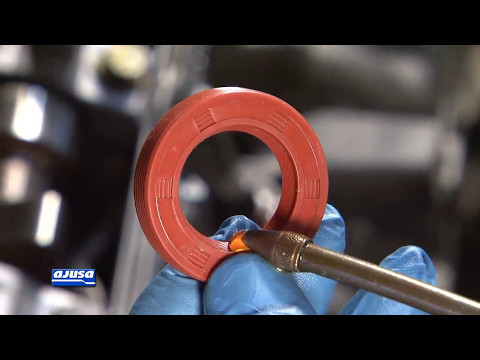
Remove the timing belt cover and secure the pulley to prevent it from rotating accidentally. Take off the timing belt and remove the pulley. Replace …
Renault Laguna
(2007-2015 /
MK 3, Laguna III, MK III, X91, Laguna 3)
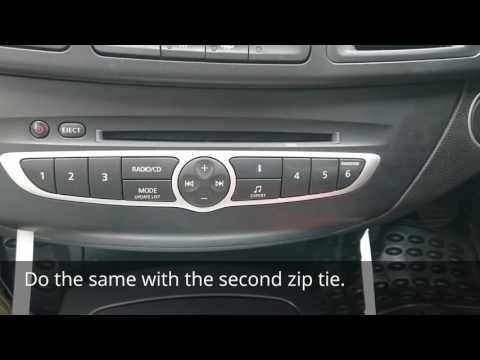
In this brief and simple guide, you will learn how to remove and replace the original radio of the Renault Laguna by following the instructions below…
Other guides you may be interested in
|
How to Adjust the Brightness of the Instrument Cluster on a Peugeot 3008?
To adjust the brightness of the instrument cluster on a Peugeot 3008, you need to turn on the ignition and access the settings via the menu located in the central area of the dashboard. In the screen that appears, select the "Display Configuration" option: now, by selecting the "Brightness" option, you can adjust it using the dedicated slider that will appear on the screen. The adjustment should be made with the headlights on as well as with them off. Once the adjustment is complete, you can turn off the instrument cluster. by ScegliAuto More videos
|
|
For advertising on this site Write to info@scegliauto.com
ScegliAuto is not responsible for any inaccuracy of the data in the lists. To report any inaccuracy or your business (if you own the business in question), please write to info@scegliauto.com
Number of seconds to generate the page: 0.938
(c) ScegliAuto 2026 - info@scegliauto.com - Privacy policy VAT number: IT01247470535 |
