
|
Do it yourself
| |||
| ||||


Replacing the Cabin Air Filter
Model: Saab 9 5
Ys3e, MK 1
- Years 1997-2010
The cabin air filter is located behind the centre console and to access it, follow this disassembly sequence.
From the passenger side of the cabin, first remove the elliptical carpet cover located to the side of the centre console. Unscrew the 4 Torx screws securing the plastic panel just below the glove compartment and remove it after disconnecting the power connector for the kick panel light. Now, open the glove compartment door and unscrew another 4 Torx screws and remove the glove box after disconnecting the light bulb connector and the flexible pipe for the drinks cooler. You can now see the cap of the cabin air filter container: remove the 7 securing screws and the cap itself. The filter container will likely be full of paper debris, leaves, and other materials: remove the old filter, thoroughly clean the container, and insert the new filter. Refit the cap, then the glove box, the previously removed cover, and the carpet panel. Finally, it is recommended to sanitise the cabin with a suitable product (start the engine, turn on the air conditioning, set the temperature to minimum, activate the recirculation function, and with the fan speed at maximum, open all air vents: in this condition, activate the sanitising spray for at least three minutes).
Updated on 2 February 2026 by ScegliAuto
Video tutorial
Related tutorials
Saab 9 5
(1997-2010 /
Ys3e, MK 1)
The engine air filter housing is located at the front right of the vehicle, just behind the panel: to remove the old filter, it is not necessary to o…

Saab 9 5
(1997-2010 /
Ys3e, MK 1)
When you take your car for a service, it is easy to forget about a very important filter: the cabin air filter. It filters the air coming from outsid…
Saab 9 5
(1997-2010 /
Ys3e, MK 1)
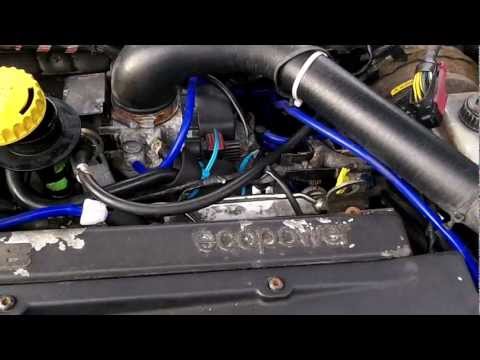
For the modification, you need to obtain the complete kit. Start by disconnecting the negative terminal of the battery, then disconnect the sensor co…
Other guides you may be interested in
|
How to Replace the Remote Battery for the Volvo XC40?
In this tutorial, you will see how to replace the battery in the remote for the Volvo XC40, a very simple and quick operation. For this, you will need a replacement battery of type CR2032 and possibly a small flathead screwdriver. First, remove the front cover by pressing the button on the metal ring, then locate the second button, press it as well, and remove the opposite cover. Next, open the circular cap, take out the old battery, and insert the new one in the opposite direction. Finally, reassemble everything. by ScegliAuto More videos
|
|
For advertising on this site Write to info@scegliauto.com
ScegliAuto is not responsible for any inaccuracy of the data in the lists. To report any inaccuracy or your business (if you own the business in question), please write to info@scegliauto.com
Number of seconds to generate the page: 0.205
(c) ScegliAuto 2026 - info@scegliauto.com - Privacy policy VAT number: IT01247470535 |
