
|
Do it yourself
| |||
| ||||


Operation of the Oil Pump in a Vehicle
Model: (Various brands) Various
In this video, you can see the operation of the oil pump, which is the heart of the engine's lubrication system. Here is its work cycle step by step: when the engine starts, the pump (which is driven by the crankshaft or the timing system) begins to rotate. This creates a vacuum that draws oil from the sump through the pickup tube, which is a pipe with a mesh filter to prevent large debris from entering the pump. The oil passes through gears or rotors (depending on the type of pump): the gear pump is where two gears rotate, compressing the oil between the teeth and the walls of the pump, while the lobe or rotor pump is similar but with different profiles to increase efficiency. The rotation increases the oil pressure (typically 2-5 bar in standard engines). The pressurised oil is pushed towards the oil filter, which traps metallic particles from engine wear, carbon deposits, and other contaminants. If the filter is clogged, a bypass valve allows the oil to skip the filter. This filtered oil travels through the engine channels, reaching the main bearings; the cylinder head; the pistons and the turbo. After completing this cycle, the oil returns to the sump by gravity, ready to be drawn and recycled.
Posted on 22 February 2026 by ScegliAuto
Video tutorial
Related tutorials
(Various brands) Various
Modern vehicles use adjustable oil pumps that provide oil as needed while saving fuel for engine lubrication. The animation shows how a variable oil …
(Various brands) Various
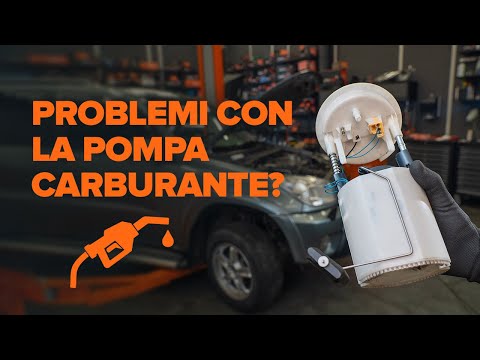
In this video, you will see how to check the operational status of the electric fuel pump or the submerged float pump in the fuel tank of your vehicl…
(Various brands) Various
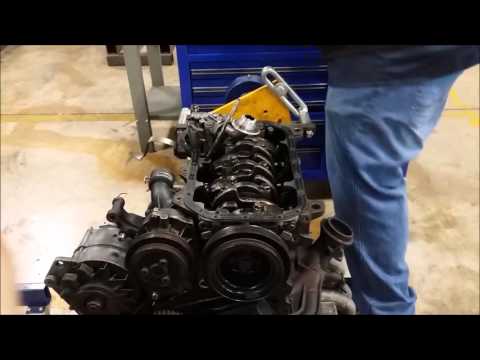
This operation requires skill and special tools. To perform this repair, you will need to remove the engine from its housing for easier access, or yo…
Other guides you may be interested in
|
How to Replace the Battery on a Honda Vision 110
To replace the battery on a Honda Vision 110, you need to remove the front fairing of the motorcycle, located directly under the front headlamp. To loosen this panel, unscrew the two screws found at its top, just below the handlebar. Once these screws are loosened, lever under the panel to detach it, gaining access to the battery underneath: this battery must be removed from its housing by unscrewing the fixing screws and disconnecting the power cables, replacing it with a new one. by ScegliAuto More videos
|
|
For advertising on this site Write to info@scegliauto.com
ScegliAuto is not responsible for any inaccuracy of the data in the lists. To report any inaccuracy or your business (if you own the business in question), please write to info@scegliauto.com
Number of seconds to generate the page: 0.136
(c) ScegliAuto 2026 - info@scegliauto.com - Privacy policy VAT number: IT01247470535 |
