
|
Do it yourself
| |||
| ||||


Volkswagen Jetta Years 1991-1998 (MK 3, A3) Volkswagen Jetta (1991-1998 / MK 3, A3)
Location and Diagram of the Fuse Boxes on the Volkswagen Jetta Let's look at the layout of the fuse boxes on the Volkswagen Jetta: the fuse box located in the cabin is found under the dashboard, on the driver's side, under …Read all… Posted on 30 July 2026 by ScegliAuto  Volkswagen Jetta (1991-1998 / MK 3, A3)
Where are the Fuses Located in the Volkswagen Jetta? In the Volkswagen Jetta, the fuse boxes contain the fuses responsible for the operation of the devices installed in the car: in this type of vehicle, there is …Read all… Posted on 24 February 2026 by ScegliAuto  Volkswagen Jetta (1991-1998 / MK 3, A3)
Where are the Fuses Located on the Volkswagen Jetta? All fuse boxes in the Volkswagen Jetta contain the fuses that regulate the operation of the devices installed in the vehicle. In this type of car, there will …Read all… Posted on 24 February 2026 by ScegliAuto  Volkswagen Jetta (1991-1998 / MK 3, A3)
Where is the fuse box located in the Volkswagen Jetta 3? In the following guide aimed at all of you who own a third-generation Volkswagen Jetta, we will help you locate the box that contains all the car's fuses. This …Read all… Posted on 24 January 2026 by ScegliAuto 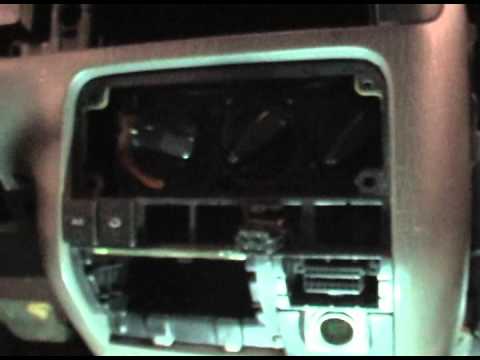 Volkswagen Jetta (1991-1998 / MK 3, A3)
How to Replace the Heat Exchanger on a Volkswagen Jetta? To access and replace the heat exchanger on a Volkswagen Jetta, it is necessary to remove the entire dashboard. Start by detaching the cover surrounding the …Read all… Posted on 4 August 2026 by ScegliAuto  Volkswagen Jetta (1991-1998 / MK 3, A3)
How to Remove the Rear Seats of the Volkswagen Jetta Follow this step-by-step guide to remove the rear seats of the Volkswagen Jetta in simple and quick steps. First, get into the vehicle from the rear and start …Read all… Posted on 20 July 2026 by ScegliAuto  Volkswagen Jetta (1991-1998 / MK 3, A3)
Replacing the Thermostat on a VW Jetta Is the car's thermostat malfunctioning? Let's remove the coolant thermostat from the engine bay. Lift the car using a suitable jack or column lift. Unscrew the …Read all… Posted on 22 May 2026 by ScegliAuto  Volkswagen Jetta (1991-1998 / MK 3, A3)
Removing the Left Rear Door Panel on a Jetta Remove the cover panel from the rear door on a Jetta. Take off the cover panel to replace it or access the interior. Use a trim tool to remove the plastic …Read all… Posted on 29 April 2026 by ScegliAuto  Volkswagen Jetta (1991-1998 / MK 3, A3)
Removing the Wing Mirror from a Jetta To remove the external mirror from a VW Jetta, start by removing the window winder located on the panel. Take off the cover of the handle and the cover at the …Read all… Posted on 25 April 2026 by ScegliAuto  Volkswagen Jetta (1991-1998 / MK 3, A3)
How to Remove the Handle from a VW Jetta Remove the damaged handle from the door of a VW Jetta. Insert a screwdriver into the gap on the door (side panel); insert the key into the lock and unlock it …Read all… Posted on 9 April 2026 by ScegliAuto 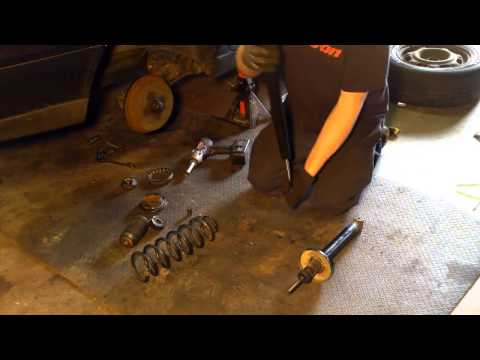 Volkswagen Jetta (1991-1998 / MK 3, A3)
Rear Shock Absorber Replacement Lift the vehicle on a ramp or on suitable axle stands and remove the rear wheel to access the shock absorber; then, access the cabin and fold down the …Read all… Posted on 17 February 2026 by ScegliAuto 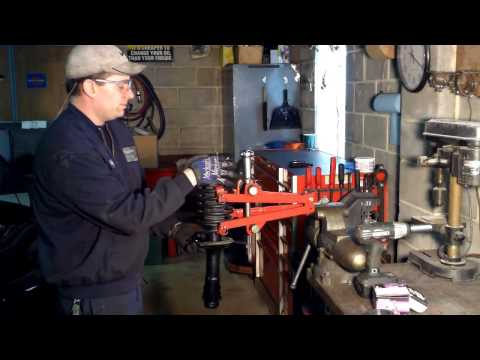 Volkswagen Jetta (1991-1998 / MK 3, A3)
How to Replace Front Shock Absorbers To replace the front shock absorbers, first remove the wheels and lift the car, adhering to all safety regulations. Disconnect the ABS cable from the supports …Read all… Posted on 17 February 2026 by ScegliAuto 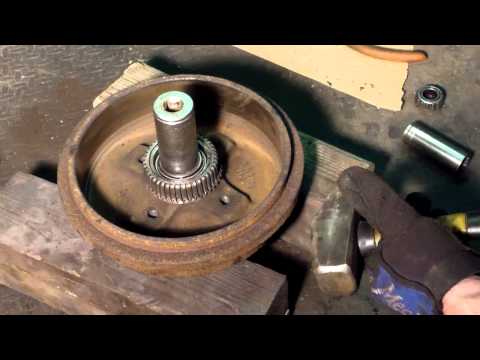 Volkswagen Jetta (1991-1998 / MK 3, A3)
Replacing Wheel Bearings Wheel bearings are part of the car's suspension. They are located in the wheel hub and/or on the brake disc drum. You can save time and money by carefully …Read all… Posted on 17 February 2026 by ScegliAuto |
See also:
How to reset the tyre pressure warning light on a Hyundai Tucson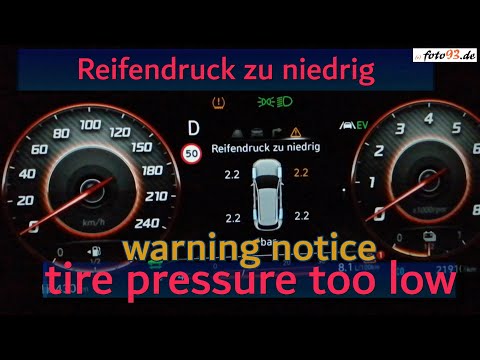
Below are the instructions to reset the tyre pressure warning light (TPMS) on a Hyundai Tucson. First, get into the vehicle and turn on the instrument cluster; then navigate to the vehicle settings until you reach the tyre pressure monitor, identifying the tyre with incorrect pressure. At this point, restore all tyre pressures according to the specifications indicated on the label; this will reset the TPMS and the warning light will be cleared from the instrument cluster! by ScegliAuto More videos
|
|
For advertising on this site Write to info@scegliauto.com
ScegliAuto is not responsible for any inaccuracy of the data in the lists. To report any inaccuracy or your business (if you own the business in question), please write to info@scegliauto.com
Number of seconds to generate the page: 0.018
(c) ScegliAuto 2026 - info@scegliauto.com - Privacy policy VAT number: IT01247470535 |
