
|
Do it yourself
| |||
| ||||


How to replace the oil filter, engine oil, and air filter of the VW Golf 7
Model: Volkswagen Golf
Golf VII, MK 7, Golf 7
- Years 2012-2019
The steps that make up the basic car service on a Volkswagen Golf 7 are quite simple to perform independently. The first step to be carried out is to replace the engine oil and oil filter. We open the front hood and pour an additive into the oil tank that will allow the tank to clean itself as the liquid comes out of the sump. We unscrew the nut that closes the oil sump and let the oil drain out; once finished, we close the sump and proceed with the replacement of the oil filter. After replacing the filter, we top up the oil in the tank. The second step to be carried out is to replace the air filter. We unscrew the screws that hold the air filter cover in place and remove the clamp that connects the air tube to the filter. We remove the old filter, clean the housing, and insert a new filter. The third step to be carried out is to reset the service light. To perform this operation, we need to have a computer that will be connected via an OBD socket to the vehicle, follow the settings, and reset the service light.
Posted on 2 November 2024 by ScegliAuto
Video tutorial
Related tutorials
Volkswagen Golf
(2012-2019 /
Golf VII, MK 7, Golf 7)
Today's information will show us how to perform the routine maintenance service, replacing the engine oil and oil filter, on a Volkswagen Golf 2.0 TD…
Volkswagen Golf
(1997-2003 /
Golf IV, MK 4, Golf 4)
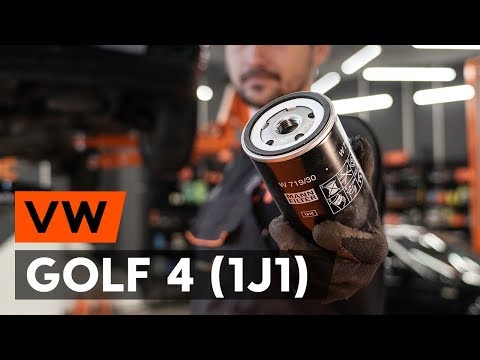
In this video tutorial, you will learn how to replace the engine oil and oil filter of a Volkswagen Golf 4. First, lift the car and remove the Torx s…
Volkswagen Golf
(1991-1997 /
Golf III, MK 3, Golf 3)
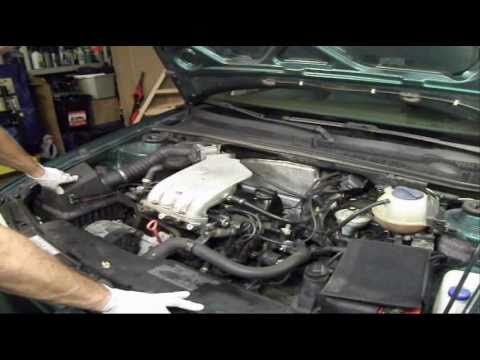
The oil filter is one of the most important elements to consider in car maintenance. The oil filter should be changed every time you change the engin…
Other guides you may be interested in
|
Frequently Asked QuestionsHow to Reset the Tyre Pressure Light on the Opel Grandland X
While driving, if you notice the tyre pressure warning light coming on, first check the actual inflation pressure of the tyres and, if necessary, restore the pressures recommended by the manufacturer. After restoring the correct pressures, you need to reset the warning light that has illuminated on the instrument cluster. To do this, locate the reset button on the lower central console. Press this button and hold it down for at least 3 seconds, after which the low pressure indication will turn off. by ScegliAuto More videos
|

|
For advertising on this site Write to info@scegliauto.com
ScegliAuto is not responsible for any inaccuracy of the data in the lists. To report any inaccuracy or your business (if you own the business in question), please write to info@scegliauto.com
Number of seconds to generate the page: 0.153
(c) ScegliAuto 2026 - info@scegliauto.com - Privacy policy VAT number: IT01247470535 |
