
|
Do it yourself
| |||
| ||||


Replacement of the camshaft of the Volkswagen Golf Plus 1.9 TDI
Model: Volkswagen Golf
Golf 5, MK 5, Golf V
- Years:
2003, 2004, 2005, 2006, 2007, 2008
Video tutorial
Today's main instructions will show us how to disassemble and replace the camshaft of the Volkswagen Golf Plus 1.9 TDI. First, we get on board the car and start by disassembling and removing the air filter box, unscrewing the fixing screws and disconnecting the intake hose; then we unscrew the fixing screws found on the sides to remove the cylinder head cover, as shown in the video. At this point, we remove the camshaft, replacing it with the new original one; we reassemble and adjust the camshaft, reassembling the cylinder head cover with the new gasket.
Posted on 18 December 2024 by ScegliAuto
Related tutorials
Volkswagen Golf
(1974-1983 /
Golf 1, MK 1)
In this guide, follow the main instructions to time the engine of the Volkswagen Golf. First, open the bonnet of your car and begin removing the serp…
Volkswagen Golf
(2012-2019 /
MK 7, Golf 7, Golf VII)
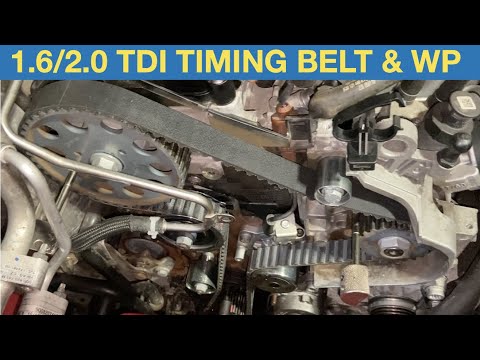
In this video tutorial, you will learn how to remove and replace the timing belt on the seventh generation Volkswagen Golf with a 2.0 TDI engine, fol…

Volkswagen Golf
(1997-2003 /
Golf IV, Golf 4, MK 4)
Replacing the camshaft is a task reserved for specialists as it requires experience and appropriate dedicated equipment. After removing the valve cov…
Other guides you may be interested in
|
Frequently Asked QuestionsHow to reset the tyre pressure warning light on the Kia Niro EV?
To reset the tyre pressure warning light on the Kia Niro EV, inflate the tyres until they reach the correct pressure value. This value is indicated on the sticker attached to the driver's door pillar. Once the tyres are inflated, turn on the instrument cluster to check that the warning light has completely disappeared from the display. If it is still present, you may need to drive for a few miles to ensure it disappears completely from the screen. by ScegliAuto More videos
|
|
For advertising on this site Write to info@scegliauto.com
ScegliAuto is not responsible for any inaccuracy of the data in the lists. To report any inaccuracy or your business (if you own the business in question), please write to info@scegliauto.com
Number of seconds to generate the page: 0.037
(c) ScegliAuto 2026 - info@scegliauto.com - Privacy policy VAT number: IT01247470535 |
