
|
Do it yourself
| |||
| ||||


How to replace the headlight of the Volkswagen Gol G5
Model: Volkswagen Gol
5U, G5
- Years 2008-2023
In this video, we can see how to remove the headlight assembly of the Volkswagen Gol MK5. To do this operation, it is essential to first remove the central grille, which is done by unscrewing the four screws on the top, then pulling the grille towards you to reveal five clips on the bottom that are quite difficult to remove. We need to use a key to lever the metal clips out of their slots, then pull upwards while pulling outwards. Once the grille is removed, we need to use a Torx 30 key to remove the first screw located under the grille; then use a size 25 key to access the two screws under the wheel arch protection. Once these are removed, we can take out the size 30 screws located above the headlight. Now we need to disconnect the electrical connectors inside the engine compartment, after which the headlight assembly can be removed, although it may be difficult. Some models may have an additional screw under the bumper, so it is recommended to check carefully before removing the headlight.
Posted on 25 January 2025 by ScegliAuto
Video tutorial
Related tutorials
Volkswagen Gol
(2008-2023 /
5U, G5)
Below are the necessary instructions on how to perform the routine maintenance service by changing the engine oil and oil filter of the Volkswagen Go…
Volkswagen Gol
(2008-2023 /
5U, G5)
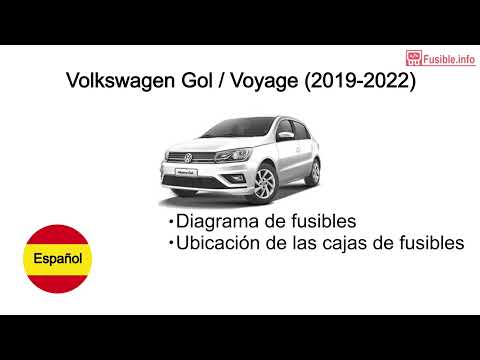
In the Volkswagen Gol, the fuses are located inside the fuse boxes installed in the vehicle: in this car model, you can find two boxes. The first is …
Volkswagen Gol
(2008-2023 /
5U, G5)
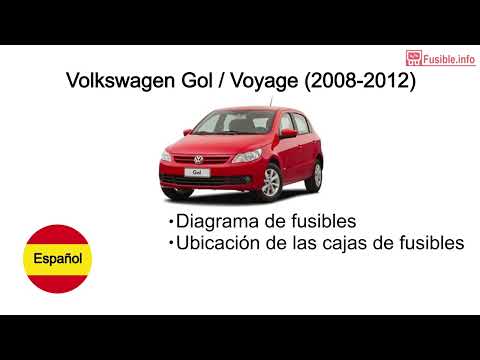
The fuses in the Volkswagen Gol are located inside the designated fuse boxes installed in the vehicle. In this type of car, you can find two fuse box…
Other guides you may be interested in
|
How to Reset the Tyre Pressure Light on the Opel Grandland X
While driving, if you notice the tyre pressure warning light coming on, first check the actual inflation pressure of the tyres and, if necessary, restore the pressures recommended by the manufacturer. After restoring the correct pressures, you need to reset the warning light that has illuminated on the instrument cluster. To do this, locate the reset button on the lower central console. Press this button and hold it down for at least 3 seconds, after which the low pressure indication will turn off. by ScegliAuto More videos
|
|
For advertising on this site Write to info@scegliauto.com
ScegliAuto is not responsible for any inaccuracy of the data in the lists. To report any inaccuracy or your business (if you own the business in question), please write to info@scegliauto.com
Number of seconds to generate the page: 0.146
(c) ScegliAuto 2026 - info@scegliauto.com - Privacy policy VAT number: IT01247470535 |
