
|
Do it yourself
| |||
| ||||


How to replace the radiator of the Volkswagen Passat B6
Model: Volkswagen Passat
B6, 3C
- Years 2005-2010
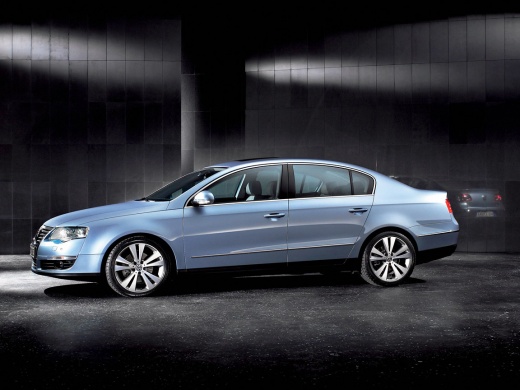
In this video, we will see how to replace the radiator of the Volkswagen Passat B6. First of all, we need to remove the front bumper, starting by removing the eight screws on the front; two more on each side, then those on the bottom (there are also some very internal ones) and the clips of the wheel arches. The radiator is then protected by a bumper located under the car, which we must remove. Once all these pieces are removed, we have access to the radiator: we will have to disconnect the pipes, letting the liquid flow out into a basin; unscrew the fan from the radiator itself, disconnecting the electrical connector. When performing this operation, it may happen that several damaged components are found: this is the opportunity to replace them. Now it is a matter of replacing the actual radiator and then putting everything back in place, following the disassembly in reverse order. As for the replacement part, being a piece with very delicate specifications, we recommend looking for it directly at the dealership indicating the VIN number.
Posted on 19 April 2025 by ScegliAuto
Video tutorial
Related tutorials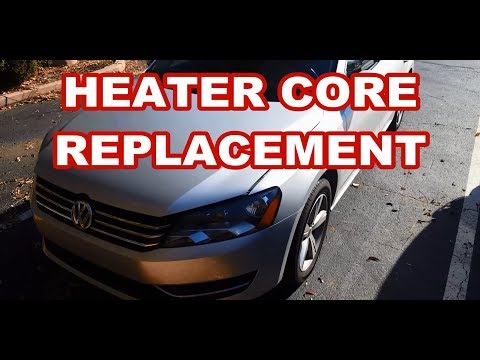
Volkswagen Passat
(2010-2014 /
B7)
Before you can start, open the front bonnet of your Volkswagen Passat. Begin by unclipping and removing the air filter hose. This will give you acces…

Volkswagen Passat
(2005-2010 /
B6, 3C)
Today we will explain how to replace the radiator of the Volkswagen Passat model B6 on your own. To perform the replacement of the radiator, we need …

Volkswagen Passat
(2005-2010 /
B6, 3C)
To replace the heater radiator on a Volkswagen Passat, loosen the screws securing the side panel of the passenger footwell. Once this panel is remove…
Other guides you may be interested in
|
How to Reset the Tyre Pressure Light on the Opel Grandland X
While driving, if you notice the tyre pressure warning light coming on, first check the actual inflation pressure of the tyres and, if necessary, restore the pressures recommended by the manufacturer. After restoring the correct pressures, you need to reset the warning light that has illuminated on the instrument cluster. To do this, locate the reset button on the lower central console. Press this button and hold it down for at least 3 seconds, after which the low pressure indication will turn off. by ScegliAuto More videos
|
|
For advertising on this site Write to info@scegliauto.com
ScegliAuto is not responsible for any inaccuracy of the data in the lists. To report any inaccuracy or your business (if you own the business in question), please write to info@scegliauto.com
Number of seconds to generate the page: 0.071
(c) ScegliAuto 2026 - info@scegliauto.com - Privacy policy VAT number: IT01247470535 |
