
|
Do it yourself
| |||
| ||||


Replacement of Torsion Bar Bushes
Model: Volkswagen Maggiolino
MK 1
- Years 1938-1980
Once the bodywork is removed, working on the Beetle's chassis is very simple; the difficulties encountered are mainly related to the presence of any rust that hinders disassembly. The first operation to perform is the removal of the rear axle by unscrewing the bolts that secure the hub flange to the end of the torsion bar. Then remove the protective cover of the outer bush and the bush itself (to detach it, rotate it while gripping it with a spanner). Before sliding out the torsion bar, mark the relative position between the bar and the chassis with a marker rather than chalk. At this point, tension the bar with a pry bar and apply pressure with a jack to facilitate extraction. Then extract the inner support bush and replace it with a new one after lubricating it well with grease; reinsert the bar respecting the previously made marks and pushing it in until it is fully seated. Insert a new bush on the outside and the protective cover of the bush. Repeat the same operation on the other side and reinstall the axle.
Updated on 6 February 2026 by ScegliAuto
Video tutorial
Related tutorials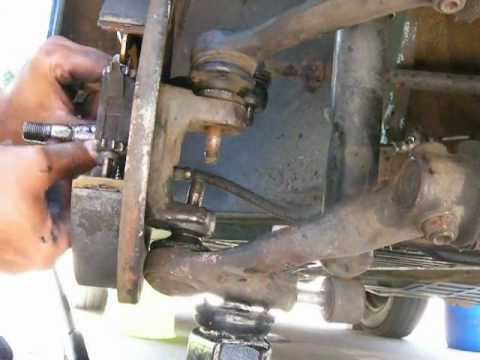
Volkswagen Maggiolino
(1938-1980 /
MK 1)
Obtain the replacement part. Lift the vehicle, secure it, and remove the wheel. Remove the metal cover protecting the retaining bolt on the hub, whic…

Volkswagen Maggiolino
(1938-1980 /
MK 1)
In this brief guide, you will learn the main instructions on how to dismantle and replace the window regulator mechanism on the Volkswagen Beetle. Fi…
Volkswagen Maggiolino
(1938-1980 /
MK 1)
It is often difficult to find new parts for older vehicles, so it is necessary to source replacement parts by dismantling them from vehicles that are…
Other guides you may be interested in
|
How to Remove the Front Bumper of the Citroën C4 Picasso?
To remove the front bumper of the Citroën C4 Picasso, you need to take out all the rivets and screws that secure the piece to its housing: these screws are located inside the wheel arches of the front wheels and at the central upper part of the bumper itself. Once all these fastening elements have been removed, you can detach the bumper from its seat by disconnecting the connectors inside and then insert the new replacement part. The new part can then be secured and connected properly, ensuring it is correctly fixed in place. by ScegliAuto More videos
|
|
For advertising on this site Write to info@scegliauto.com
ScegliAuto is not responsible for any inaccuracy of the data in the lists. To report any inaccuracy or your business (if you own the business in question), please write to info@scegliauto.com
Number of seconds to generate the page: 0.103
(c) ScegliAuto 2026 - info@scegliauto.com - Privacy policy VAT number: IT01247470535 |
