
|
Do it yourself
| |||
| ||||


How to Locate the Fuse Box and Understand the Diagram on a Volkswagen Golf III
Model: Volkswagen Golf
MK 3, Golf III, Golf 3
- Years:
1991, 1992, 1993, 1994, 1995, 1996, 1997
This video is currently unavailable
This video tutorial shows the fuse assignment diagrams for a Volkswagen Golf III. The fuse box is located at the bottom of the dashboard on the driver's side, behind a protective cover; to remove the cover, press the buttons on it. The fuses in this box are assigned to: left and right dipped beam headlights, headlight adjustment motors, number plate lights, rear windscreen washer, washers, headlight washers, heating fan, heated rear window, fog lights, left and right main beam headlights, reverse lights, central locking, electric mirrors, heated seats, cruise control, electric windows, speedometer, intake manifold heater, instrument panel lighting, ABS indicator, SRS indicator, sunroof, Thermotronic heating system, hazard lights, indicators, fuel pump, air conditioning relay, stop lights, interior lighting, radio.
Updated on 26 May 2026 by ScegliAuto
Related tutorials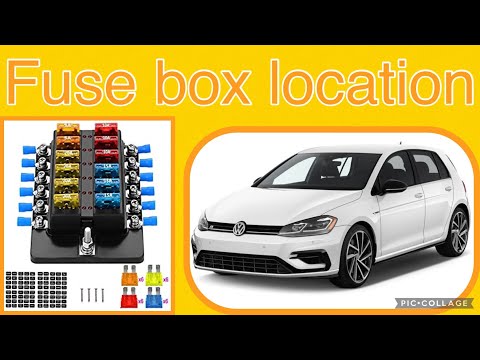
Volkswagen Golf
(2012-2019 /
MK 7, Golf 7, Golf VII)
Below, you will find the steps to locate the fuse box and its diagram in a Volkswagen Golf. First, locate the external fuse box, which is found in th…

Volkswagen Golf
(1991-1997 /
MK 3, Golf III, Golf 3)
To locate the fuses in a Volkswagen Golf 3, open the driver's door and look for the fuse panel located at the bottom of the dashboard, usually under …
Volkswagen Golf
(2008-2012 /
Golf 6, MK 6, 5K1, Golf VI)
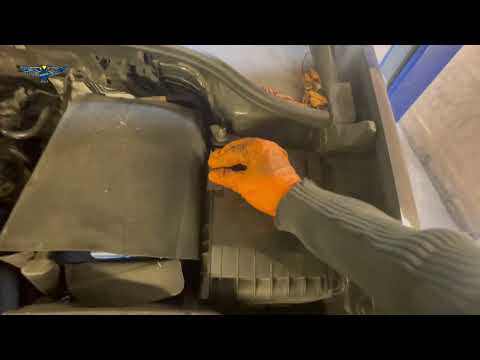
Today's guide shows the fuse diagram and positioning for the Volkswagen Golf. First, open the bonnet and locate the external fuse box; it is found at…
Other guides you may be interested in
|
Frequently Asked QuestionsHow to Open the Fuel Flap on a Volkswagen Tiguan?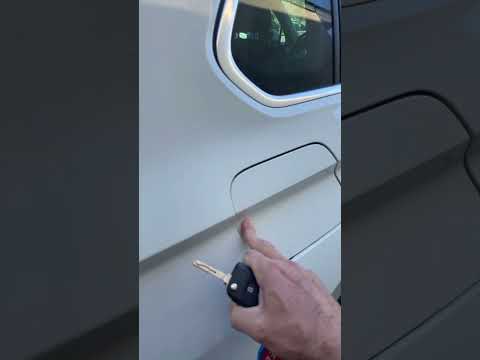
To open the fuel flap on a Volkswagen Tiguan, first unlock the car using the appropriate button on the remote. This will open the car and unlock the mechanism that controls the fuel flap. At this point, apply light pressure to the left side of the flap to open it and access the cap underneath. Once this is unscrewed, you can refuel and then close everything. by ScegliAuto More videos
|
|
For advertising on this site Write to info@scegliauto.com
ScegliAuto is not responsible for any inaccuracy of the data in the lists. To report any inaccuracy or your business (if you own the business in question), please write to info@scegliauto.com
Number of seconds to generate the page: 0.207
(c) ScegliAuto 2026 - info@scegliauto.com - Privacy policy VAT number: IT01247470535 |
