
|
Do it yourself
| |||
| ||||


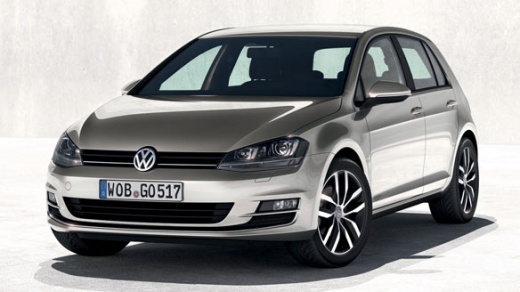
How to Replace the Outside Temperature Sensor on a Volkswagen Golf?
Model: Volkswagen Golf
Golf VII, MK 7, Golf 7
- Years 2012-2019
To replace the outside temperature sensor on a Volkswagen Golf, open the bonnet to access the screws securing the grille at the front of the engine bay. Once the grille is loosened and removed, you can access the components underneath; directly in front of the radiator, you will find the sensor. Disconnect its connector and remove the securing screws to take it out; then insert the new sensor, connecting and securing it properly.
Updated on 6 July 2026 by ScegliAuto
Video tutorial
Related tutorials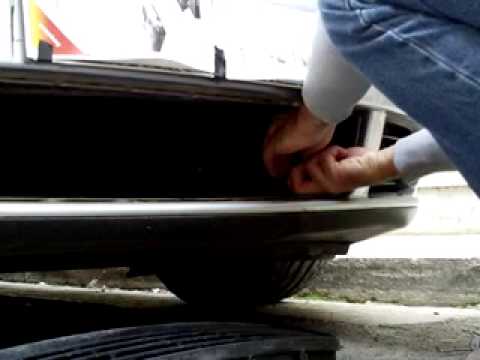
Volkswagen Golf
(2003-2008 /
MK 5, Golf 5, Golf V)
Today, in this tutorial video, you will see how to remove and replace the external temperature sensor on the fifth series Volkswagen Golf in simple s…
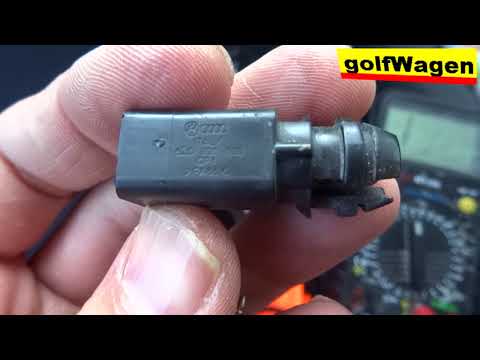
Volkswagen Golf
(2003-2008 /
MK 5, Golf 5, Golf V)
Today, in this video tutorial, learn how to remove and replace the outside temperature sensor of the fifth series Volkswagen Golf in simple steps. Fi…
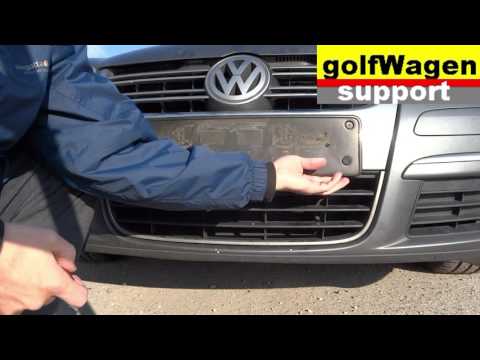
Volkswagen Golf
(2003-2008 /
MK 5, Golf 5, Golf V)
In today's tutorial, we will go through the steps to remove and replace the outside temperature sensor on the fifth generation Volkswagen Golf and th…
Other guides you may be interested in
|
Frequently Asked QuestionsHow to reset the tyre pressure warning light on a Hyundai Tucson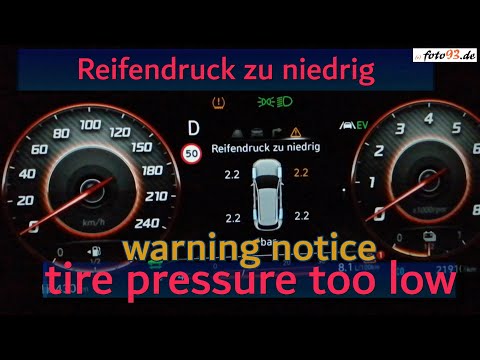
Below are the instructions to reset the tyre pressure warning light (TPMS) on a Hyundai Tucson. First, get into the vehicle and turn on the instrument cluster; then navigate to the vehicle settings until you reach the tyre pressure monitor, identifying the tyre with incorrect pressure. At this point, restore all tyre pressures according to the specifications indicated on the label; this will reset the TPMS and the warning light will be cleared from the instrument cluster! by ScegliAuto More videos
|
|
For advertising on this site Write to info@scegliauto.com
ScegliAuto is not responsible for any inaccuracy of the data in the lists. To report any inaccuracy or your business (if you own the business in question), please write to info@scegliauto.com
Number of seconds to generate the page: 0.188
(c) ScegliAuto 2026 - info@scegliauto.com - Privacy policy VAT number: IT01247470535 |
