
|
Do it yourself
| |||
| ||||


Audi A3 - Door lockDoor Lock Audi A3 (2012-2019 / 8 v, mk 3) Audi A3 (2003-2013 / MK 2, 8P)
How to Replace the Lock on an Audi A3 8P The door lock mechanism of the Audi A3 8P is known for its electronic faults. To remove it, locate the yellow latch inside the panel. With a flathead …Read all… Posted on 3 August 2026 by ScegliAuto  Audi A3 (2012-2019 / 8V, MK 3)
How to replace the door lock of the Audi A3. Replacing the lock of the left front door of the Audi A3 is a simple and quick operation that can be done independently. To carry out the replacement, it is …Read all… Posted on 28 December 2025 by ScegliAuto 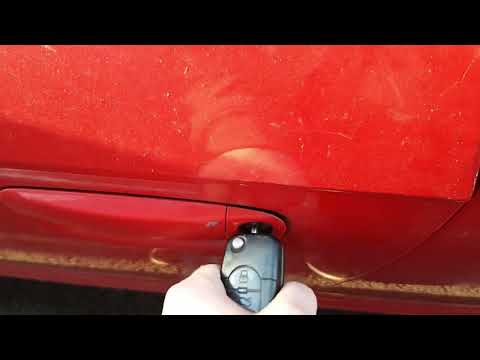 Audi A3 (2003-2013 / MK 2, 8P)
How to Repair the Door Lock on an Audi A3 Today, we will see in this video tutorial the steps to repair the door lock on an Audi A3. First, open the front door and begin unscrewing the side screw of …Read all… Posted on 24 August 2026 by ScegliAuto 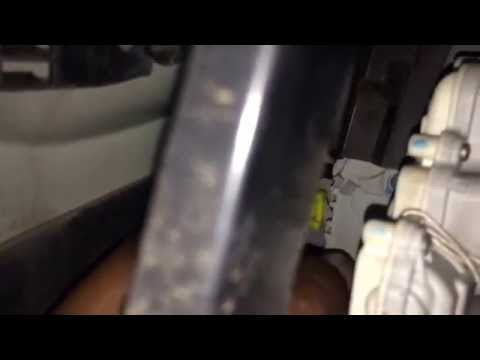 Audi A3 (2003-2013 / MK 2, 8P)
How to Remove the Door Lock on an Audi A3 8P In this video tutorial, you will see the main steps to remove and replace the front door lock on an Audi A3 8P. First, open the front door and start by …Read all… Posted on 22 June 2026 by ScegliAuto  Audi A3 (2003-2013 / MK 2, 8P)
Replacing the Lock on Audi A3 8P Using a flat screwdriver or a small plastic lever, detach the small plastic around the lock buttons. Unscrew the now exposed screw with a Torx T20 key. Then …Read all… Posted on 19 June 2026 by ScegliAuto
Audi A3 (2003-2013 / MK 2, 8P)How to Remove the Lock from an Audi A3 Replace the door lock of the Audi if it does not work with the remote or the key; this indicates a problem with the soldering or the micro switch. The lock …Read all… Posted on 11 June 2026 by ScegliAuto 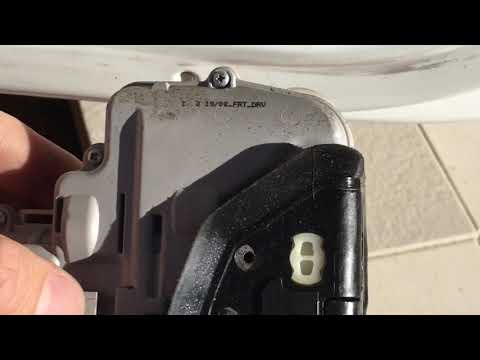 Audi A3 (2012-2019 / 8V, MK 3)
Replacing Door Locks on an Audi A3 Let's see how to remove the door lock from an Audi A3. Remove the cover of the internal handle, unscrew the screws in the upper lever space of the door opening …Read all… Posted on 22 May 2026 by ScegliAuto Door Lock Audi A3 (2003-2013 / mk 2, 8 p)
Audi A3 (2003-2013 / MK 2, 8P)How to Replace the Lock on an Audi A3 8P The door lock mechanism of the Audi A3 8P is known for its electronic faults. To remove it, locate the yellow latch inside the panel. With a flathead …Read all… Posted on 3 August 2026 by ScegliAuto
Audi A3 (2012-2019 / 8V, MK 3)How to replace the door lock of the Audi A3. Replacing the lock of the left front door of the Audi A3 is a simple and quick operation that can be done independently. To carry out the replacement, it is …Read all… Posted on 28 December 2025 by ScegliAuto
Audi A3 (2003-2013 / MK 2, 8P)How to Repair the Door Lock on an Audi A3 Today, we will see in this video tutorial the steps to repair the door lock on an Audi A3. First, open the front door and begin unscrewing the side screw of …Read all… Posted on 24 August 2026 by ScegliAuto
Audi A3 (2003-2013 / MK 2, 8P)How to Remove the Door Lock on an Audi A3 8P In this video tutorial, you will see the main steps to remove and replace the front door lock on an Audi A3 8P. First, open the front door and start by …Read all… Posted on 22 June 2026 by ScegliAuto
Audi A3 (2003-2013 / MK 2, 8P)Replacing the Lock on Audi A3 8P Using a flat screwdriver or a small plastic lever, detach the small plastic around the lock buttons. Unscrew the now exposed screw with a Torx T20 key. Then …Read all… Posted on 19 June 2026 by ScegliAuto
Audi A3 (2003-2013 / MK 2, 8P)How to Remove the Lock from an Audi A3 Replace the door lock of the Audi if it does not work with the remote or the key; this indicates a problem with the soldering or the micro switch. The lock …Read all… Posted on 11 June 2026 by ScegliAuto
Audi A3 (2012-2019 / 8V, MK 3)Replacing Door Locks on an Audi A3 Let's see how to remove the door lock from an Audi A3. Remove the cover of the internal handle, unscrew the screws in the upper lever space of the door opening …Read all… Posted on 22 May 2026 by ScegliAuto Cigarette lighter (2) Airbag (9) Alternator (6) Speaker (1) Shocks (1) Antenna (1) Air conditioning (2) Car stereo (17) Battery (23) Air vents (11) Grille (1) Transmission (2) Spark plugs (2) Glow plugs (4) Convertible top (1) Body (12) Glove compartment (6) Control unit (4) Key (88) Trunk lock (1) Timing belt (15) V-belt (4) Air conditioner (10) A/C controls (5) Onboard computer (12) Checks and maintenance (56) Throttle body (2) Dashboard (10) Shifter boot (1) Bearing (4) MAF sensor (1) Differential (2) Brake rotors (1) Rear bench seat (2) Side marker light (1) Headlight (27) Tail light (19) Fog lights (7) Diesel particulate filter (1) Air filter (13) Cabin air filter (21) Fuel filter (2) Diesel fuel filter (7) Oil filter (1) Parking brake (1) Clutch (4) Grille (3) Fuel injectors (1) Window switch (2) Accessory kit (4) Xenon headlight kit (1) Light bulb (9) Side marker bulb (5) Headlight bulb (40) Tail light bulb (13) Interior dome light bulb (6) (4) Handle (8) Exhaust muffler (1) Trim cover (1) Engine (13) Power window motor (4) Starter motor (6) Transmission fluid (3) Engine oil (10) Clock (15) Door trim panel (32) Front bumper (16) Rear bumper (10) Brake pads (3) Hydraulic pistons (1) Shift knob (11) Pump (2) Fuel pump (6) Car door (10) Push button (2) Instrument cluster (9) Radiator (2) Heater core (8) Wheel (5) Fuse box (70) Seat (12) Crankshaft position sensor (1) Engine coolant temperature sensor (1) Door lock (7) Brake system (1) Side mirror (13) Rearview mirror (3) AdBlue warning light (2) Warning light – error code (41) (41) Tire pressure warning light (5) Service warning light (100) Manufacturer emblem (6) Engine mount (2) Fuel cap (12) Windshield wipers (13) Thermostat (4) Tie rods (1) Drivetrain (1) Center console tunnel (4) Turbocharger (3) Valve (2) EGR valve (2) Blower motor (5) Side window (4) Steering wheel (12) |
How to change the time on a Toyota Yaris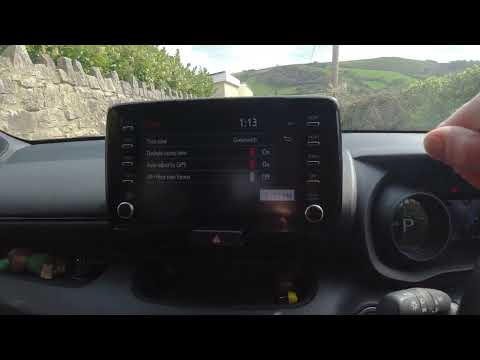
In this video we see how to change the time on a Toyota Yaris, specifically when it comes to switching from daylight saving time to standard time and vice versa. We go to the multifunction screen and press "settings": from there we go to press the clock, simply click on daylight saving time, and the clock will change the time for us, without doing anything else. All we want to do is just adjust the time format to 12 or 24 hours, as is customary in the area where we live: for example in Anglo-Saxon countries it is common to set the time to 12 hours, while in the European Union it is normally set to 24 hours. by ScegliAuto More videos
|
|
For advertising on this site Write to info@scegliauto.com
ScegliAuto is not responsible for any inaccuracy of the data in the lists. To report any inaccuracy or your business (if you own the business in question), please write to info@scegliauto.com
Number of seconds to generate the page: 0.020
(c) ScegliAuto 2026 - info@scegliauto.com - Privacy policy VAT number: IT01247470535 |
