
|
Do it yourself
| |||
| ||||


Automatic Transmission Fluid Change
Model: BMW Serie 5
E39
- Years 1995-2003
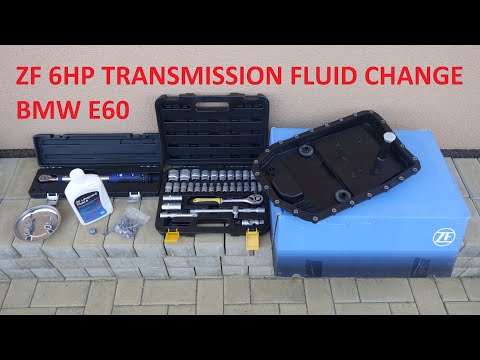
If you experience shifting problems with the automatic transmission, you need to flush and replace the fluid. The necessary tools are: digital thermometer, level, wrenches, screwdrivers, torque wrench, and a pump for fluid input. Lift the vehicle on a lift. Use the level to ensure the vehicle is perfectly level. Unscrew the oil drain plug located on the transmission pan and let it drain into a suitable container. Remove the oil pan where you notice metallic debris on the magnets. Clean thoroughly and reinstall the pan, replacing the gasket. Use the torque wrench to tighten the bolts. Add the flushing additive and use the appropriate equipment to perform a thorough flush, starting the engine and monitoring the temperature in the pan, then let it drain. After flushing, refill the transmission with the correct amount of the specified fluid.
Updated on 4 February 2026 by ScegliAuto
Video tutorial
Related tutorials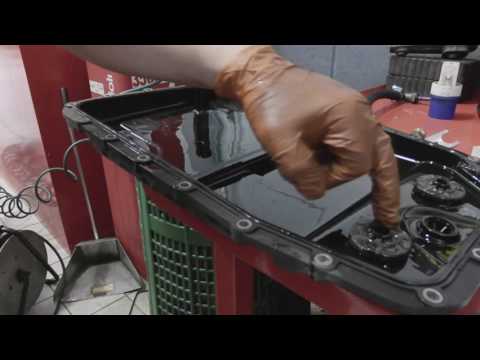
BMW Serie 5
(2003-2010 /
E60, E61)
Maintenance on the automatic transmission is essential and should be performed every 37,282 mi; you need to replace the filter integrated into the oi…
BMW Serie 5
(2003-2010 /
E60, E61)
In this tutorial we can see how to replace the gearbox oil in the BMW 5 Series, a simple operation that requires good manual skills. We lift the vehi…

BMW Serie 5
(2010-2017 /
F10, F11)
The guide shows how to unlock the BMW 5 Series f11 automatic transmission for towing. For this operation it is necessary to safely lift the front par…
Other guides you may be interested in
|
How to Replace the Timing Belt on a Peugeot 206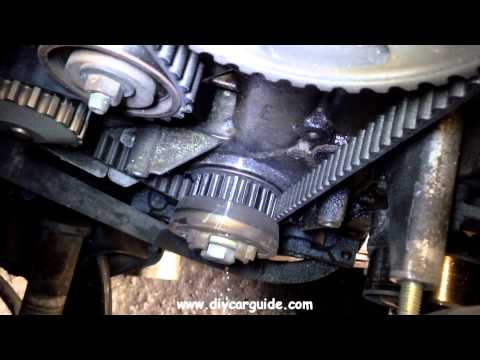
First, release the bonnet from the lever and lift it. Access to the belt is easier from the front right wheel, so remove it. Now disconnect the battery cables. Once the wheel is completely removed, you will also need to remove the brake to work from underneath your vehicle. Unscrew the tensioner and the lower pulley cover, allowing you to comfortably extract the new belt in position. Now simply retrace the steps described above to reassemble the various components. by ScegliAuto More videos
|
|
For advertising on this site Write to info@scegliauto.com
ScegliAuto is not responsible for any inaccuracy of the data in the lists. To report any inaccuracy or your business (if you own the business in question), please write to info@scegliauto.com
Number of seconds to generate the page: 0.072
(c) ScegliAuto 2026 - info@scegliauto.com - Privacy policy VAT number: IT01247470535 |