
|
Do it yourself
| |||
| ||||


BMW 3 Series E36 thermostatic valve replacement
Model: BMW Serie 3
E36
- Years 1990-2001
In this video we will see how to change the delicate thermostatic valve of the BMW 3 Series E36. Let's go to disassemble the air filter and the mass air flow sensor first. We should also go to disassemble the radiator (also fixed with screws) in order to access the thermostat. The thermostat is held by some screws that we are going to unscrew and by the radiator pipes that connect it, to remove the relative clamps: mount the new thermostat and reassemble all the components from the radiator and reconnect all the pipes with the clamps. We verify that the engine is now warming up properly and running.
Posted on 20 June 2020 by ScegliAuto
Video tutorial
Related tutorials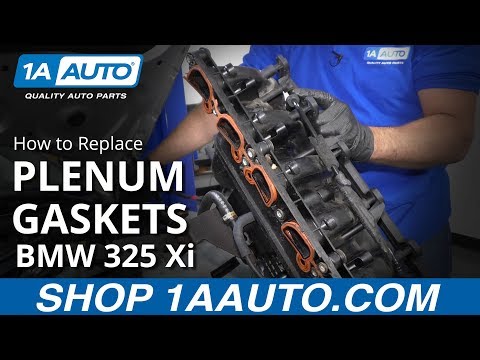
BMW Serie 3
(1990-2001 /
E36)
Let's see in this video how to remove and replace the intake manifold and its gasket on the Bmw 3 Series E36. First we open the engine hood and start…
BMW Serie 3
(1990-2001 /
E36)
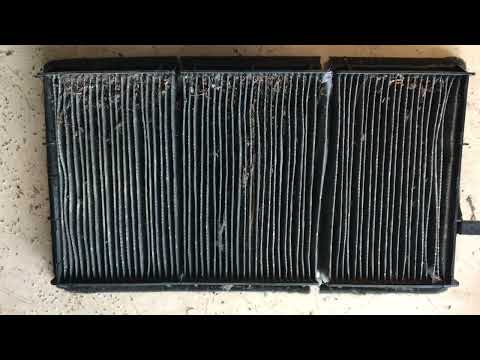
In this new mini guide dedicated to your BMW Serie 3 E36 (year 1990-2001), we will discover together how to correctly replace the cabin air filter. F…
BMW Serie 3
(1990-2001 /
E36)
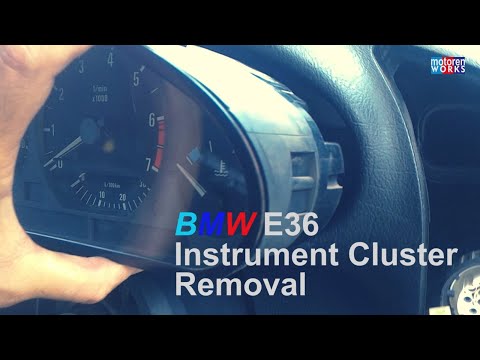
In today's video tutorial we will see how to remove the speedometer / instrument cluster of a BMW 3 Series E36. First we get inside the car and start…
Other guides you may be interested in
|
How to Replace the Front Headlight Bulbs of a Toyota Rav4
Want to change the front headlight bulbs of a Toyota Rav4 and don't know how? Follow these steps. Open the bonnet and secure it. Locate the inspection caps at the back of the headlights and remove them. At this point, you will find the bulbs with metal clips. Pull the bulb holder out of the headlight and extract the damaged bulb. Fit the new bulb (ensuring it is the correct type and size) and insert the bulb holder back into the headlight housing. Finally, close the headlight with the inspection cap. Test the lights to ensure they are functioning correctly. by ScegliAuto More videos
|
|
For advertising on this site Write to info@scegliauto.com
ScegliAuto is not responsible for any inaccuracy of the data in the lists. To report any inaccuracy or your business (if you own the business in question), please write to info@scegliauto.com
Number of seconds to generate the page: 0.080
(c) ScegliAuto 2026 - info@scegliauto.com - Privacy policy VAT number: IT01247470535 |