
|
Do it yourself
| |||
| ||||


Replace Brake Rotors
Model: BMW Serie 7
E38, MK 3
- Years:
1994, 1995, 1996, 1997, 1998, 1999, 2000, 2001
Video tutorial
Both the braking system and the rotors of the vehicle are crucial for ensuring maximum efficiency, benefiting the safety of both the driver and passengers. This procedure can be done independently without needing a mechanic, but it is essential to have a good level of manual dexterity to achieve excellent results. First, turn the steering wheel towards your side so that the brake caliper faces you. Lift the vehicle with a jack and remove the wheel after taking off the lug nuts. Use a hex wrench to unscrew all the bolts on the back that secure the caliper to the frame. Next, place the vehicle on a flat surface and engage a gear to block the front wheels. Then, you can remove the brake caliper. At this point, only the caliper bracket with the brake pads inside will remain. Remove the pads using a suitable flathead screwdriver, being careful not to damage the rotor. Next, unscrew the bolts that securely hold the bracket to the hub. Set them aside, as they will be useful for reassembly. At this point, only the brake rotor will remain, which needs to be replaced.
Updated on 22 February 2026 by ScegliAuto
Related tutorials
BMW Serie 7
(1994-2001 /
E38, MK 3)
Replacing the brake discs and pads on this car model is straightforward since the pads are secured to the caliper with pins, making removal easy; the…
BMW Serie 7
(2008-2015 /
F02, MK 5, F01)
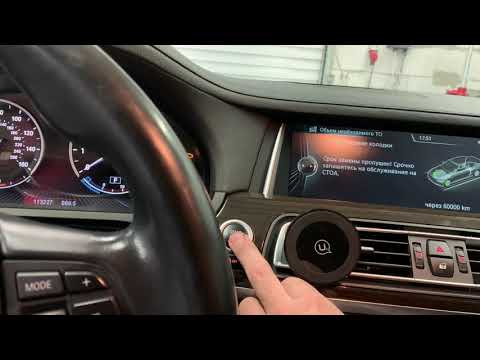
To reset the brake wear light on a BMW 7 Series, turn on the ignition to access the dashboard menu. Press and hold the button located at the bottom l…
BMW Serie 7
(2008-2015 /
F02, MK 5, F01)
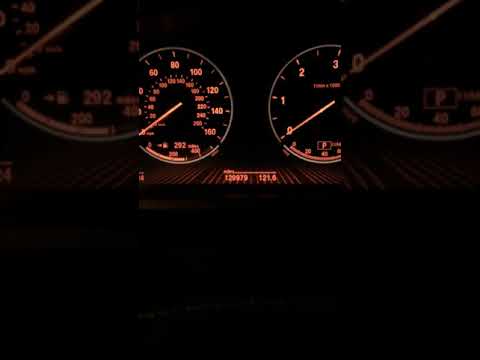
To reset the brake wear indicator on a BMW 7 Series, turn on the ignition to navigate through the menu options. Using the BC button located on the le…
Other guides you may be interested in
|
How to Remove the Rear Seat of a Hyundai Tucson?
To remove the rear seat of a Hyundai Tucson, follow these steps. Start by moving the front seats to their most forward position to gain space. Next, locate the release lever on the underside of the rear seat, near the floor. Press this lever down while pulling the seat upwards to unlock it from the anchor pins. Once unlocked, tilt the seat upwards and forwards to remove it from its position. Repeat this process for both sides of the rear seat. Be careful of any electrical cables or components that may be connected to the seat during removal. Once the rear seat is removed, the disassembly is complete. by ScegliAuto More videos
|
|
For advertising on this site Write to info@scegliauto.com
ScegliAuto is not responsible for any inaccuracy of the data in the lists. To report any inaccuracy or your business (if you own the business in question), please write to info@scegliauto.com
Number of seconds to generate the page: 0.047
(c) ScegliAuto 2026 - info@scegliauto.com - Privacy policy VAT number: IT01247470535 |
