
|
Do it yourself
| |||
| ||||


Replacing the Fuel Filter
Model: BMW Serie 3
E46
- Years:
1998, 1999, 2000, 2001, 2002, 2003, 2004, 2005, 2006
Video tutorial
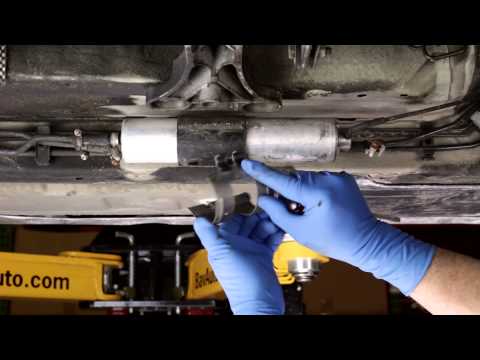
Frequent replacement of the fuel filter is a simple task that should be done regularly for optimal performance. The filter is located under the vehicle's body, so lift the car and secure it. Place a plastic sheet in the work area to catch any diesel that may spill. Use a rubber hose to drain the contents of the filter into a container. The filter is secured with a front and a rear bracket that must be removed to access the hose clamps holding it to the fuel line. Install the new filter, paying attention to the flow direction indicated by an arrow on the filter itself. Activate the emergency fuel pump to allow new fuel to flow to the injection pump before loosening the valve on the fuel line to release any air. Clean up any spilled fuel thoroughly to prevent fire hazards.
Updated on 3 February 2026 by ScegliAuto
Related tutorials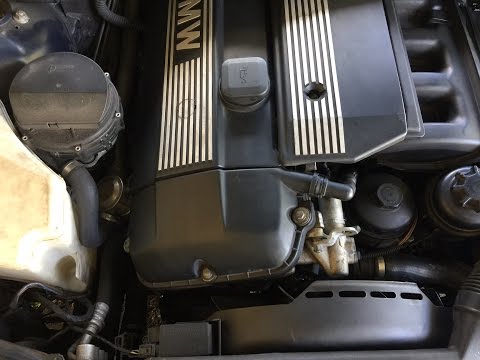
BMW Serie 3
(1998-2006 /
E46)
Let's see how to remove the fuel filter on a BMW 3 Series. Raise the car to access the fuel filter located under the vehicle's floor. Remove the reta…
BMW Serie 3
(2005-2013 /
E92, E90, E91)
Replace the fuel filter on a BMW 3 Series if you have exceeded the recommended mileage. Lift the car on a column lift and locate the fuel filter as s…

BMW Serie 3
(1998-2006 /
E46)
How to replace the fuel filter on a BMW 3 Series? Let's see in this video how to perform the replacement. Open the car door and pull up the hood rele…
Other guides you may be interested in
|
How to Open the Bonnet on the Mitsubishi L200?
In this tutorial, you will see how to open the bonnet on the Mitsubishi L200, a very simple operation that follows the standard procedure. First, open the vehicle and go to the driver's side, then locate the lever at the lower outer area, just in front of the pedals, and pull it. Next, position yourself in front of the bonnet, locate the second lever above the Mitsubishi logo, and push it to the right, releasing the latch. At this point, you can fully lift the bonnet and secure it with the prop rod. by ScegliAuto More videos
|
|
For advertising on this site Write to info@scegliauto.com
ScegliAuto is not responsible for any inaccuracy of the data in the lists. To report any inaccuracy or your business (if you own the business in question), please write to info@scegliauto.com
Number of seconds to generate the page: 0.054
(c) ScegliAuto 2026 - info@scegliauto.com - Privacy policy VAT number: IT01247470535 |
