
|
Do it yourself
| |||
| ||||


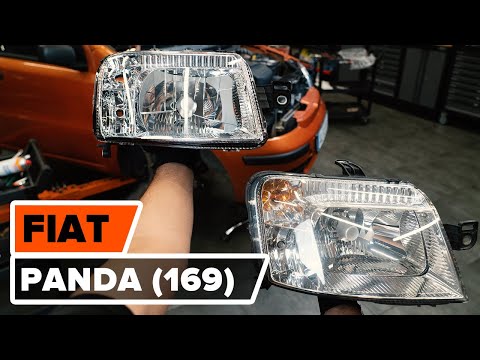
How do you replace the headlight of the Fiat Panda?
Model: Fiat Panda
MK 1, 141
- Years 1980-2003
Replacing the headlights of your car doesn't necessarily mean having had accidents or malfunctions, often, as in this video guide, it happens because you decide to enhance the beam of light with newer and technologically improved lamps. Let's follow the work: after opening the engine hood, we will disconnect the power cable connector, then with a wrench or a screwdriver, we will unscrew the four pins that fix the headlight. Done, the optical group is ready to be easily extracted from the body by pushing it, making room for its replacement.
Posted on 24 October 2025 by ScegliAuto
Video tutorial
Related tutorials
Fiat Panda
(2012-2023 /
)
If you own a Fiat Panda Mk3 and want to replace the bulb of one of the rear lights on your own, all you have to do is carefully read and follow the f…

Fiat Panda
(2012-2024 /
319, MK 3)
In order to remove the rear light of the Fiat Panda, you need to open the rear hatch of the car, so that you can access the screws next to the light …
Fiat Panda
(2003-2012 /
169, MK 2)
In order to replace the headlight of the Fiat Panda, you need to loosen all the screws that fix the components that surround the headlight. Therefore…
Other guides you may be interested in
|
Installation of Upgraded Intercooler Radiator with Pipes
Lift the vehicle on suitable axle stands, remove the front wheels, and then the front bumper and grille. Proceed to remove the front headlights; drain the coolant, remove the intercooler radiator and the hoses connecting it to the intake system. Position the new intercooler radiator in the grille, temporarily securing it with cable ties, and mark with a marker the part of the metal that needs to be removed to allow the new hoses to pass through. Cut the marked portion of metal and apply a gasket to the edge. Remove the inner cover of the bumper and position it near the radiator to identify any interfering parts to eliminate: again, apply a gasket to the edge of the cut. Create brackets for securing the new radiator and proceed with the installation of the connecting pipes from the radiator to the intake, shaping and connecting them appropriately. Finally, reassemble the bumper, headlights, and grille. by ScegliAuto More videos
|
|
For advertising on this site Write to info@scegliauto.com
ScegliAuto is not responsible for any inaccuracy of the data in the lists. To report any inaccuracy or your business (if you own the business in question), please write to info@scegliauto.com
Number of seconds to generate the page: 0.083
(c) ScegliAuto 2026 - info@scegliauto.com - Privacy policy VAT number: IT01247470535 |