
|
Do it yourself
| |||
| ||||



How to Reset the Service Light on a Fiat Panda
Model: Fiat Panda
169, MK 2
- Years:
2003, 2004, 2005, 2006, 2007, 2008, 2009, 2010, 2011, 2012
Video tutorial
To reset the service light on a Fiat Panda, use a PC with specific software connected to the car's ECU (OBD port). Start by removing the two screws that hold the cover on the left side of the steering wheel and take it off. Connect the OBD port to the ECU, and then to the PC, continuing the process through the PC. Open the MultiEcuScan program on the PC, select the vehicle model and engine as per the ECU. In the "system" box at the bottom left, click on "service indication", then click on "service reset interval (comfort)". Click on "adjustment" at the top; select the date of the last service, entering today's date. Click on "reset distance to next service"; click on "days interval" and set it to 365; click on "service interval reading" and set it to 15,000. Click on "number of maintenance services" and set the value to 9; click on "remaining distance to next service" and note that it is set to 20,000 miles, then click on "reset distance to next service" again. Click on "next service distance" and note that it is set to 15,000 miles. Once these parameters are set, the procedure is complete. Now turn on the instrument cluster and check that the message "check engine oil" does not appear on the dashboard. You can disconnect the OBD port from the car and refit the cover on the left side of the steering wheel.
Updated on 4 July 2026 by ScegliAuto
Related tutorials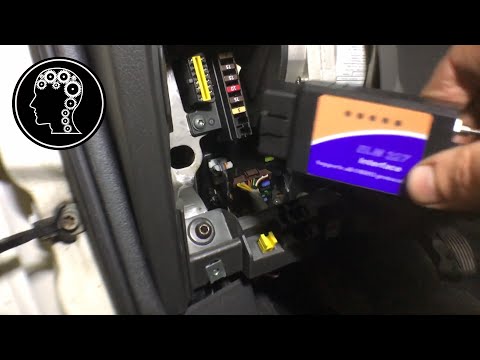
Fiat Panda
(2003-2012 /
169, MK 2)
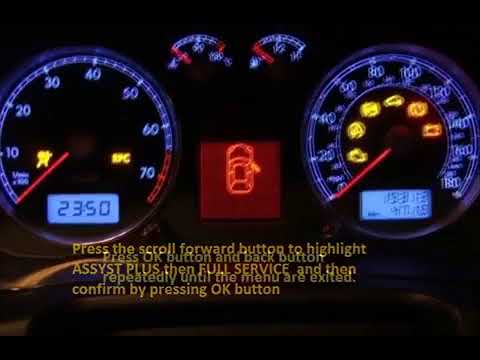
In today's video, you will reset the service light for the regular oil change maintenance on a Fiat Panda 1.3 MultiJet second series, but this also a…
Fiat Panda
(2012-2021 /
)
To reset the service light on the Fiat Panda, first follow our instructions. Get into the car and turn the key to position one to power on the vehicl…

Fiat Panda
(2012-2026 /
319, MK 3)
Today, learn how to reset the service light related to the service interval on the Fiat Panda. The service light and oil light illuminate on the vehi…
Other guides you may be interested in
|
Frequently Asked QuestionsHow to Remove the Rear Seat of a Hyundai Tucson?
To remove the rear seat of a Hyundai Tucson, follow these steps. Start by moving the front seats to their most forward position to gain space. Next, locate the release lever on the underside of the rear seat, near the floor. Press this lever down while pulling the seat upwards to unlock it from the anchor pins. Once unlocked, tilt the seat upwards and forwards to remove it from its position. Repeat this process for both sides of the rear seat. Be careful of any electrical cables or components that may be connected to the seat during removal. Once the rear seat is removed, the disassembly is complete. by ScegliAuto More videos
|
|
For advertising on this site Write to info@scegliauto.com
ScegliAuto is not responsible for any inaccuracy of the data in the lists. To report any inaccuracy or your business (if you own the business in question), please write to info@scegliauto.com
Number of seconds to generate the page: 0.075
(c) ScegliAuto 2026 - info@scegliauto.com - Privacy policy VAT number: IT01247470535 |
