
|
Do it yourself
| |||
| ||||


Cylinder Head Gasket Replacement
Model: Ford Focus
MK 2, Focus 2
- Years 2004-2011
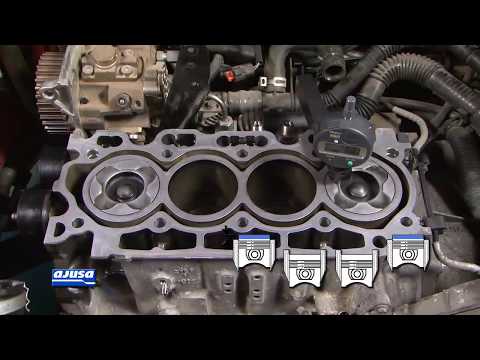
Start by checking for any warping of the cylinder head surface using a straight edge and a feeler gauge; repeat the same check on the cylinder block; clean the threads of the cylinder head bolt holes without letting any debris fall into the cylinders; check for piston interference with a digital depth gauge; position the new gasket and then the cylinder head, securing it with a new set of bolts that must be tightened using both a torque wrench and a standard wrench; then proceed to install the camshafts and the connecting chain, ensuring to respect the timing references, and complete the installation of the respective mounting brackets; then insert the support pins for the valve rocker arms and the rockers themselves to complete the closure of the cylinder head. Insert the timing oil seals, install the respective pulleys, and then the timing belt. Finally, install the intake manifold and the rocker cover, replacing the gaskets and O-rings, as well as the exhaust manifold and the thermostat.
Updated on 13 February 2026 by ScegliAuto
Video tutorial
Related tutorials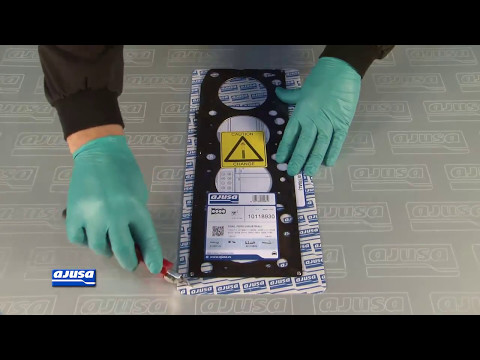
Ford Focus
(2004-2011 /
MK 2, Focus 2)
If there are signs of coolant boiling, the cause is likely a damaged cylinder head gasket. If you need to remove the cylinder head to replace the gas…
Ford Focus
(2004-2011 /
MK 2, Focus 2)
This video tutorial shows how to fit new cylinder head gaskets to a Ford Focus. After checking the flatness of the cylinder head base with a thin pla…
Ford Focus
(1998-2004 /
MK 1)
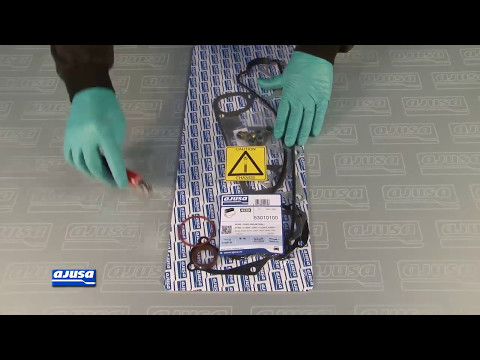
Once you have removed the rocker cover and taken off the old gasket, clean both the gasket seat under the cover and the contact surface on the cylind…
Other guides you may be interested in
|
How to Check the Oil Level on a Jeep Renegade?
To check the oil level on a Jeep Renegade, you need to open the bonnet to access the components inside the engine bay: on the lower left side of the engine block, you will find the dipstick for checking the level. This should be pulled out and thoroughly cleaned with a cloth: once cleaned, reinsert it back into its tube and pull it out immediately after. This way, you can check that the oil mark is between the minimum and maximum levels; finally, you can place the dipstick back in its tube. by ScegliAuto More videos
|
For advertising on this site Write to info@scegliauto.com
ScegliAuto is not responsible for any inaccuracy of the data in the lists. To report any inaccuracy or your business (if you own the business in question), please write to info@scegliauto.com
Number of seconds to generate the page: 0.586
(c) ScegliAuto 2026 - info@scegliauto.com - Privacy policy VAT number: IT01247470535 |
