
|
Do it yourself
| |||
| ||||


Installing the iPod Accessory Kit
Model: Honda CR-V
MK 3
- Years 2007-2012
Using a plastic tool to avoid damaging the bodywork, pry off the cover at the top of the air vent above the radio to release the plastic clips, then remove it along with the vents to access the screws securing the console. Lower the gear lever and protect the bodywork with a cloth. Remove the air conditioning control console and take off the plastic trim around the radio by prying at the edges. Unscrew the screws securing the radio console and completely remove it. Disconnect the necessary electrical connectors to install the kit. Unscrew the two screws securing the lower glove compartment and also remove the plastic cover of the upper glove compartment. Using a drill, make a sufficiently large hole to pass the iPod connector through the plastic you just removed. Then, insert a rubber grommet into the hole. Prepare the cables included with the iPod kit, connecting them to the original connectors and the other end to the kit's control unit. Wire the kit according to the attached instructions and secure it inside the dashboard. Refit the cover, ensuring the cables pass through the radio tunnel. Refit the radio by reversing the previous steps. Turn on the radio and check the proper functioning of all the new features offered.
Updated on 3 February 2026 by ScegliAuto
Video tutorial
Related tutorials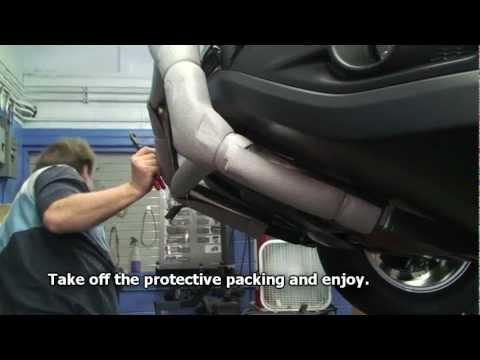
Honda CR-V
(2012-2017 /
MK 4)
To better protect the front of the vehicle from potential damage, it is advisable to install an additional protective Bull Bar made of steel. The ope…

Honda CR-V
(2012-2017 /
MK 4)
You will find the fuse box for the dashboard inside the cabin of the Honda CR-V, on the lower left side of the steering wheel, in a drawer located un…
Honda CR-V
(2007-2012 /
MK 3)
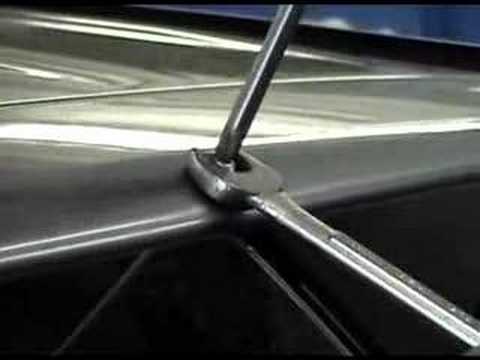
After purchasing the necessary kit, start marking, using the appropriate template, the points where the fixing holes will be drilled. Protect the bod…
Other guides you may be interested in
|
How to Replace the Cabin Filter on the Opel Grandland X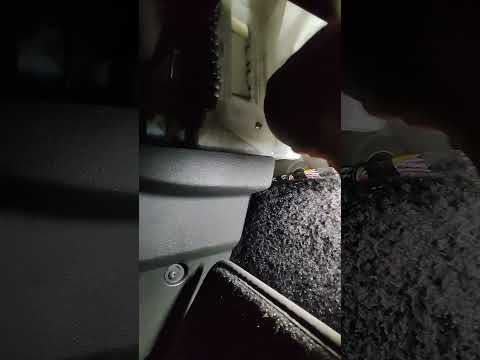
If you own an Opel Grandland X and want to know the steps to replace the cabin air filter, carefully read the following guide and follow the described steps. First, enter the vehicle and go to the passenger side. Then, locate the box containing the air filter in the lower side area of the dashboard. Remove the cover of the box and finally replace the old filter with the new one. Refit the cover, and you are done. by ScegliAuto More videos
|

|
For advertising on this site Write to info@scegliauto.com
ScegliAuto is not responsible for any inaccuracy of the data in the lists. To report any inaccuracy or your business (if you own the business in question), please write to info@scegliauto.com
Number of seconds to generate the page: 0.413
(c) ScegliAuto 2026 - info@scegliauto.com - Privacy policy VAT number: IT01247470535 |
