
|
Do it yourself
| |||
| ||||


How to Change a Bulb on a Mazda
Model: Mazda 6
GG, MK 1
- Years:
2002, 2003, 2004, 2005, 2006, 2007, 2008
Video tutorial
Want to change a bulb on your car but don't know how? In this guide, you'll learn how to do it. For safety and to protect the car, disconnect the battery terminals. Next, unscrew the two screws located at the top of the bumper. Lift the car on a column lift to the desired height. Now, use a ratchet spanner to remove the two splash guards under the bumper. Lower the vehicle almost to the ground and unscrew the screws of the splash guard frame. Gradually detach the bumper, disconnecting the related lighting connectors. Remove all screws around the perimeter of the headlamp and disconnect it from the vehicle body. Replace the bulbs, ensuring to match the correct voltage. Refit the headlamp by screwing all screws back in, reattach the bumper ensuring the headlamps are properly aligned, and finally screw on the front cover. Ensure all screws around the wheel arch and splash guards are tightened.
Updated on 24 February 2026 by ScegliAuto
Related tutorials
Mazda 6
(2008-2012 /
MK 2, GH)
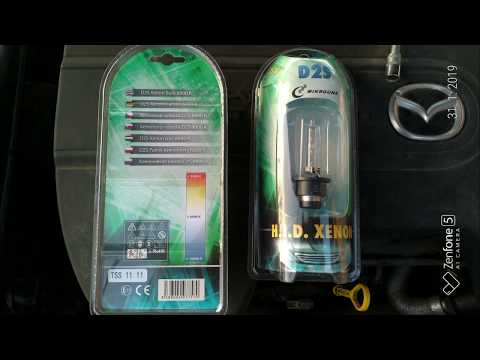
To change the front bulbs on a Mazda 6, start by unscrewing the screws present in the wheel arch on the side of the affected headlamp. Then move to t…
Mazda 6
(2002-2008 /
GG, MK 1)
In this video tutorial, you will learn how to remove the headlight bulb from a Mazda 6. The bulb is located behind the front wheel, so disconnect the…
Mazda 6
(2012-2024 /
GJ, MK 3)
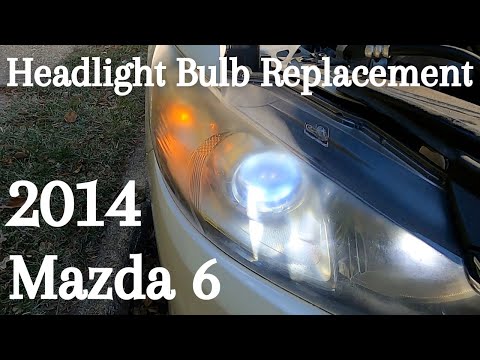
Today we will see the instructions that will allow you to remove and replace the headlight bulb on a Mazda 6 in simple steps. First, open the bonnet …
Other guides you may be interested in
|
How to Remove the Toll Tag Holder from the Car Windscreen
The toll tag holder is usually attached to the car windscreen to ensure that the toll tag functions immediately when passing through barriers. However, if you decide to remove the holder, you should follow this procedure: - Insert the toll tag into the holder; - Pull the holder inwards to detach it from the windscreen; you can use a glass scraper or a stiff plastic card to assist you; After removing the holder, it is essential to remove the adhesive from the windscreen. To remove the adhesive, we recommend using a solvent-based spray that will remove the glue without clouding the area. by ScegliAuto More videos
|
|
For advertising on this site Write to info@scegliauto.com
ScegliAuto is not responsible for any inaccuracy of the data in the lists. To report any inaccuracy or your business (if you own the business in question), please write to info@scegliauto.com
Number of seconds to generate the page: 0.062
(c) ScegliAuto 2026 - info@scegliauto.com - Privacy policy VAT number: IT01247470535 |
