
|
Do it yourself
| |||
| ||||


Dashboard Removal and Replacement of the Heater Core
Model: Mercedes Classe E
W210
- Years:
1995, 1996, 1997, 1998, 1999, 2000, 2001, 2002
Video tutorial
It is recommended to perform this repair only if you have good mechanical knowledge and, above all, a lot of patience. Damage to the heater core (i.e., breakage and subsequent fluid leakage) can be diagnosed by checking for abnormal coolant consumption and excessive fogging of the windshield. First, disconnect the battery terminals (located under the rear seat) before proceeding with the disassembly. The heater core is located inside the dashboard support, which must be completely disassembled and removed from the cabin. Open the hood and remove all the plastic covering under the windshield until you access the pipes connected to the heater core and those of the air conditioning connected to the coil, which must be disconnected. Then access the cabin to completely disassemble the dashboard until you remove the dashboard support from the cabin. At this point, open the dashboard support to access the heater core: you will notice the presence of coolant. Carefully dry the inside of the support housing the radiator and install the new heater core. Reassemble everything and also replace the cabin air filters. Proceed in reverse for reassembly.
Updated on 3 February 2026 by ScegliAuto
Related tutorials
Mercedes Classe E
(2002-2009 /
W211)
Before you can start, open the hood of your Mercedes E-Class. First, unscrew and remove the bolts securing the radiator fan to the radiator. Then, di…

Mercedes Classe E
(2002-2009 /
W211)
The main steps today will show you how to disassemble and replace the cooling radiator and its fan on the Mercedes E-Class. First, get inside the veh…
Mercedes Classe E
(2016-2023 /
W213)
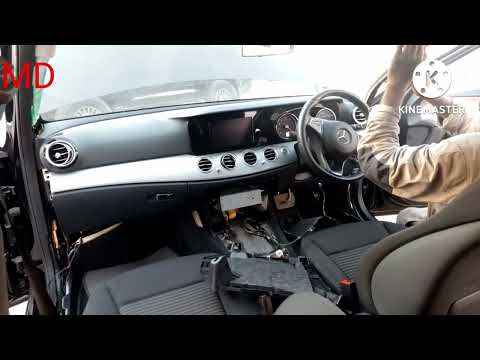
Today's guide will show you the main instructions on how to remove and replace the entire dashboard to access the cabin heater radiator of the Merced…
Other guides you may be interested in
|
How to Remove the Rear Seat of a Hyundai Tucson?
To remove the rear seat of a Hyundai Tucson, follow these steps. Start by moving the front seats to their most forward position to gain space. Next, locate the release lever on the underside of the rear seat, near the floor. Press this lever down while pulling the seat upwards to unlock it from the anchor pins. Once unlocked, tilt the seat upwards and forwards to remove it from its position. Repeat this process for both sides of the rear seat. Be careful of any electrical cables or components that may be connected to the seat during removal. Once the rear seat is removed, the disassembly is complete. by ScegliAuto More videos
|
|
For advertising on this site Write to info@scegliauto.com
ScegliAuto is not responsible for any inaccuracy of the data in the lists. To report any inaccuracy or your business (if you own the business in question), please write to info@scegliauto.com
Number of seconds to generate the page: 0.113
(c) ScegliAuto 2026 - info@scegliauto.com - Privacy policy VAT number: IT01247470535 |
